Dendisch
2019 VS30 144 HR 4x4
I know that aerodynamics is not one of the Sprinters strong points. Still it bothered my personal esthetic taste to put solar panels on top of it that stick straight up. So I used a little different method for installing my solar panels. I wanted a low profile, but still use traditional instead of flexible solar panels.
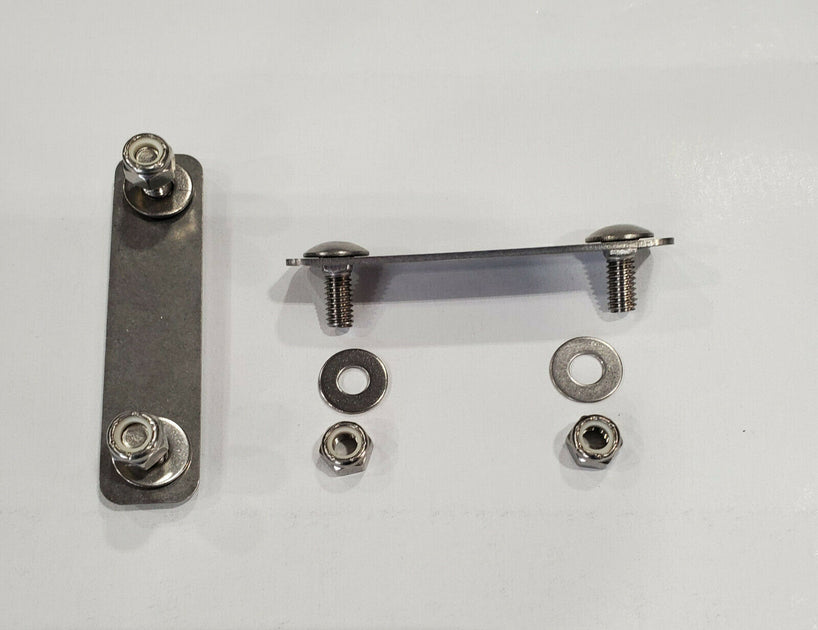
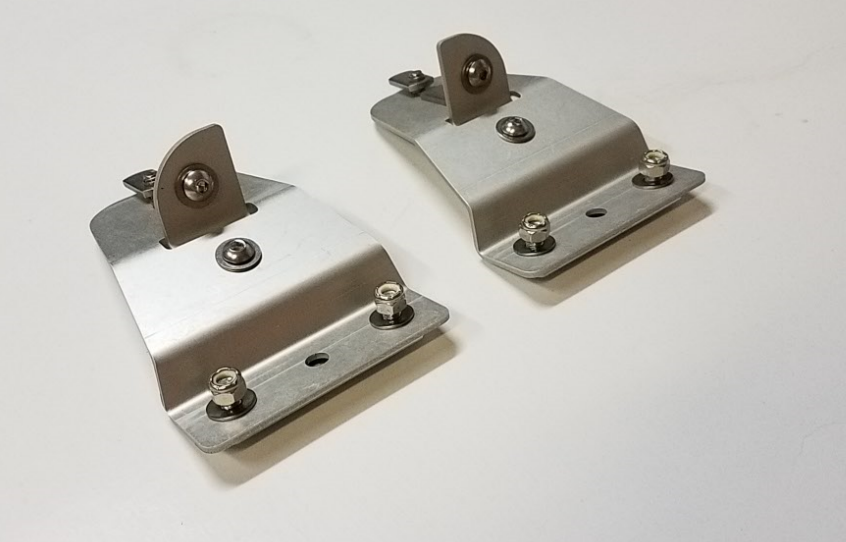
First I mounted 6” wide 1/8” thick flat aluminum brackets to the roof rails. Instead of spanning the whole roof the brackets extended only to the panels. At the end point they rest directly on the roof with spacers and a small piece of VHB adhesive tape. Three of the four panels were then mounted onto the flat aluminum using the common z brackets. For the angled front panel I shaved off some of the front panel frame to make it thinner. I added some narrow 1/8” aluminum flat and angle pieces to regain the stiffness. For the front right corner I couldn’t attach to the roof rail, because it was already occupied by the awning bracket. I mounted to the awing bracket instead using an angle bracket. The rounded leading edge was created from a 4” ABS pipe section cut. Most of the bolts are M6 stainless steel carriage bolts.
Is it worth it? Making all the custom brackets is for sure a lot more work than using commercially available direct mount brackets (e.g. from Hein). Cost is similar or a little higher. The lower front edge may help a little with fuel economy, but considering the size compared to other extra items such as awning, MaxFan, and window flares the effect is probably barely measurable.
So in summary I really like it but I wouldn’t recommend it to anybody unless you have a lot of extra time at hand and are as crazy about your particular design as I am.
Cheers,
Denis