Remove Rear Bench Seat 2019 Sprinter 2500 Passenger 144

Grozer

ConversionSprinterVans.com
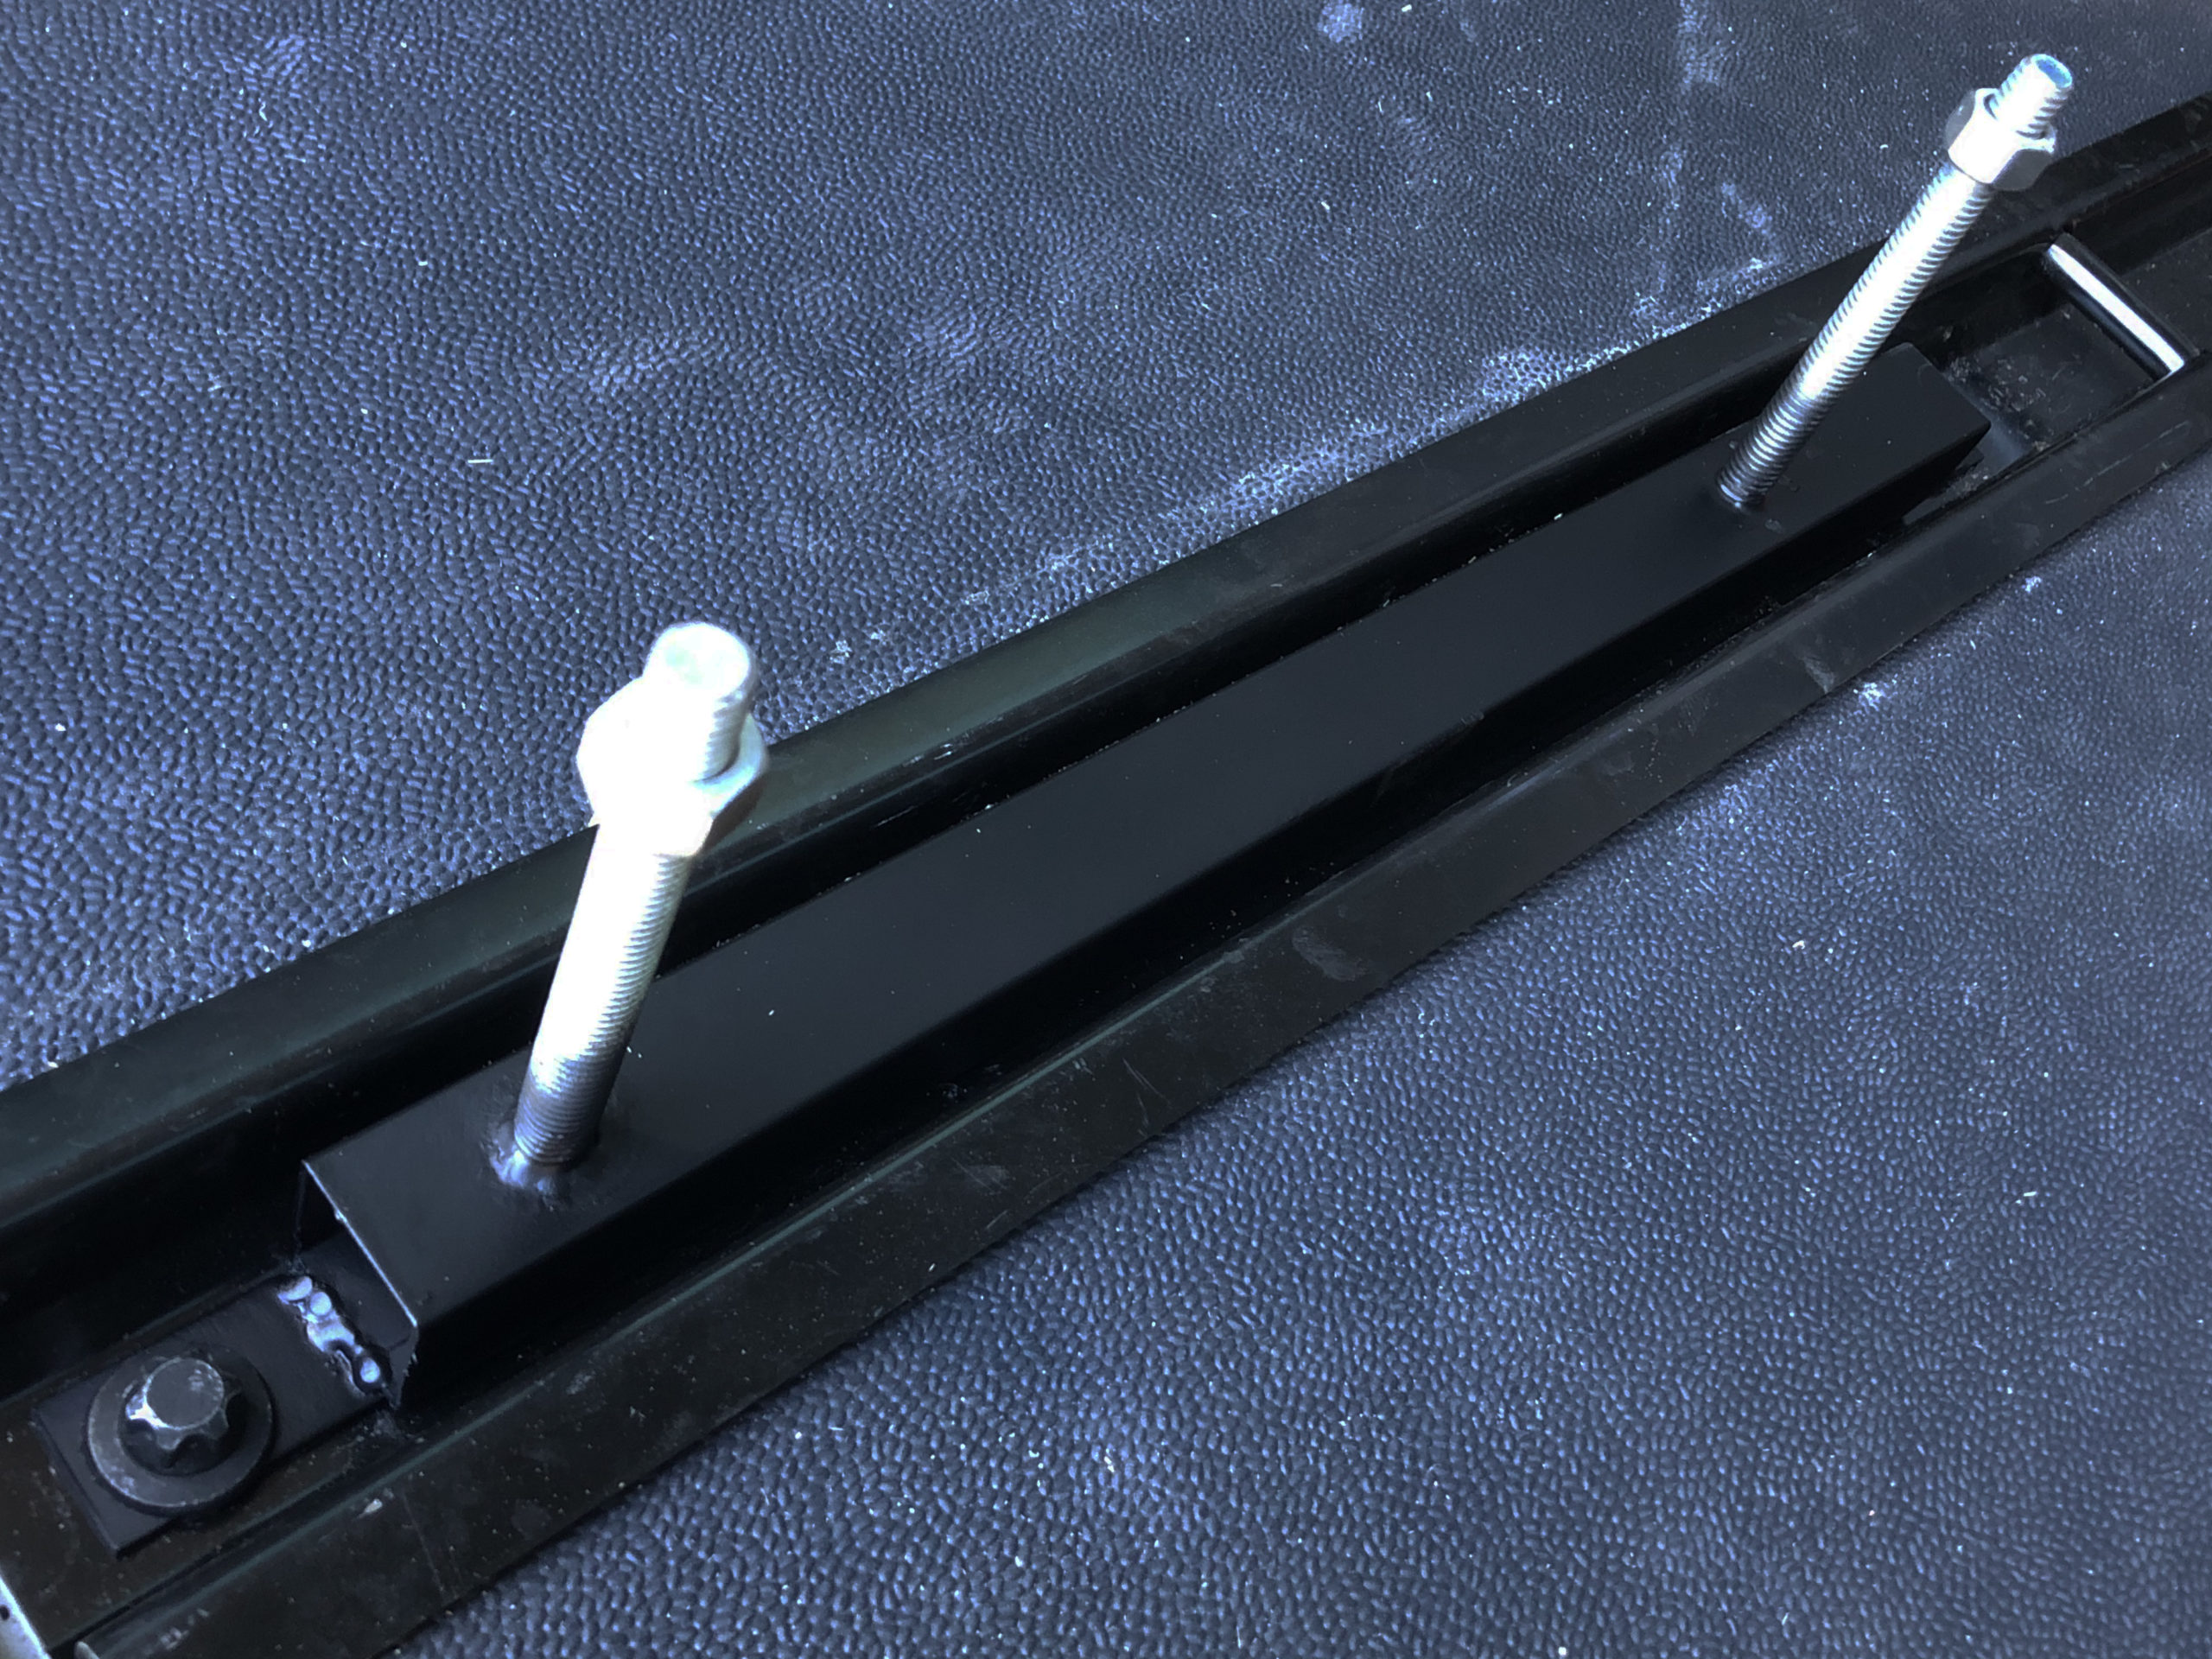
How do you remove the plastic trim covers that lock in over the seat locking track, when 3 bench seats are factory installed in a passenger van? The covers at the very front and very rear of the track? Not the covers that have a spring loaded sliding latch that are found between rows of seats (those unlock and come out easy). I also have no problem unlatching the seats, and they appear they will come out simple enough.

But how do you remove the end of track plastic trim covers (Bottom cover in photo)? The ones that have slotted holes? No spring loaded latching clip? I have tried popping them straight up. Also attempted to slide them forward or backward, then up. They seem to be locked in tight. I don't want to force them up and snap off some type of plastic locking tab I suspect exists? Is there a special tool that has to be pushed down through the two slots in the plastic...or some trick to remove these?
IMG_5533.jpg
 
Last edited:

iksro

Member
@Grozer it doesnt answer your question but I was staring at mine last night as well wondering the same thing. What are you thinking of doing once you have them out?
 

430 hp 70

'19 144 Gas Passenger - Carlsbad
Iirc, 2 tabs pry inward, 2 outward. I put a flat blade down the slots and got mine out. Definitely not the easiest piece to remove, but I didn't break any tabs.
 

Grozer

ConversionSprinterVans.com
Iirc, 2 tabs pry inward, 2 outward. I put a flat blade down the slots and got mine out. Definitely not the easiest piece to remove, but I didn't break any tabs.
Thanks....I was able to get most out using your technique. Still have one I can't pop out. But my screwdriver is a bit too thick. I may have to grind the tip some to modify it for this purpose.

Amazing how tight they are. It helps once you have one out to see how they snap in.

The dead end pieces of trim have 2 tabs (Yellow Line), one on either side, that snap into holes in the side of the metal track. The white line shows a thin piece of plastic that also catches a thin metal tab in the bottom of the track. If you would pry the white end directly up you would damage this piece of trim. You have to unlatch the two side catches, then slide the trim toward the white line end about a 1/2 inch to clear that bottom metal clip.
 

Attachments

Grozer

ConversionSprinterVans.com
@Grozer it doesnt answer your question but I was staring at mine last night as well wondering the same thing. What are you thinking of doing once you have them out?
I have designed a metal anchor that will secure into the track using the existing bolts and frame nuts. The anchor has vertical threaded rods. I am putting down 3/4 inch sub floor. These anchor bolts will protrude above that new floor.

Then for some wall partitions, that will also create overhead storage support. I am creating a metal skeleton of 1x1 x 1/16 steel tube, and some 1 1/4 x 1 1/4 x 1/16 tube. The base of this metal skeleton will be drilled and slide over the protruding bolts, Then secured with washers and lock nuts. Both walls and floor will be secured this way.

I am converting in a "modular" method. With the idea any of this can be removed and the van put back to original if I ever want to....with minimal new holes in it, and no alterations to the factory interior wall and ceiling covering. (Mine is a passenger van)
 

iksro

Member
I have designed a metal anchor that will secure into the track using the existing bolts and frame nuts. The anchor has vertical threaded rods. I am putting down 3/4 inch sub floor. These anchor bolts will protrude above that new floor.

Then for some wall partitions, that will also create overhead storage support. I am creating a metal skeleton of 1x1 x 1/16 steel tube, and some 1 1/4 x 1 1/4 x 1/16 tube. The base of this metal skeleton will be drilled and slide over the protruding bolts, Then secured with washers and lock nuts. Both walls and floor will be secured this way.

I am converting in a "modular" method. With the idea any of this can be removed and the van put back to original if I ever want to....with minimal new holes in it, and no alterations to the factory interior wall and ceiling covering. (Mine is a passenger van)
You have any renderings? Id be curious to see what it looks like.
 

Grozer

ConversionSprinterVans.com
You have any renderings? Id be curious to see what it looks like.
I was fabricating the actual anchor today. It was in my head and not on paper. I am attaching a couple of photos. But you can also follow the link to more detailed info if the photos aren't enough. It ended up working great. Now I just need to weld up some more. The bolts protruding up through the floor and will eventually anchor a partition wall also. The wall is laid out to be centered on those two bolts showing. A combo Shower/Commode (wet Bath) is going in that rear passenger side area.


Attachments

Last edited:

santex16

New member
I have not found any tool that will fit far enough into those slots to release the tabs. The shaft of a screwdriver will not fit into those slots. Can you please explain what you mean or maybe show a picture of the tool you used?
 

Top Bottom