2004 T1N Mountain Bike Van Build

alexk243

KulAdventure
Monstaliner Roll-on Bed-Liner Paint

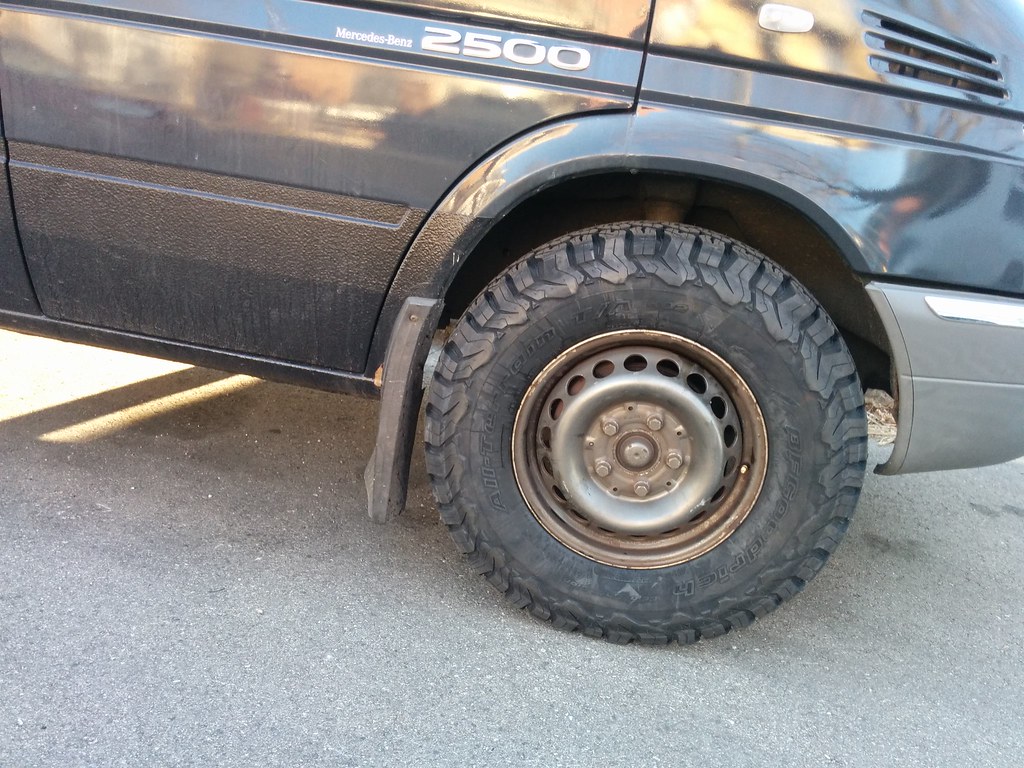
Next thing I wanted to do was to deal with and prevent body rust. I had a few spots coming through on the bottom of the body.

My game plan was to monstaline the bottom 25% of the van (monstaliner website). I really liked the monstaliner, it was a roll on application that I think anyone can do and make it look decent. Once all the rust was removed I felt like this would create a strong rust preventative barrier that would look good also without having to match factory paint.

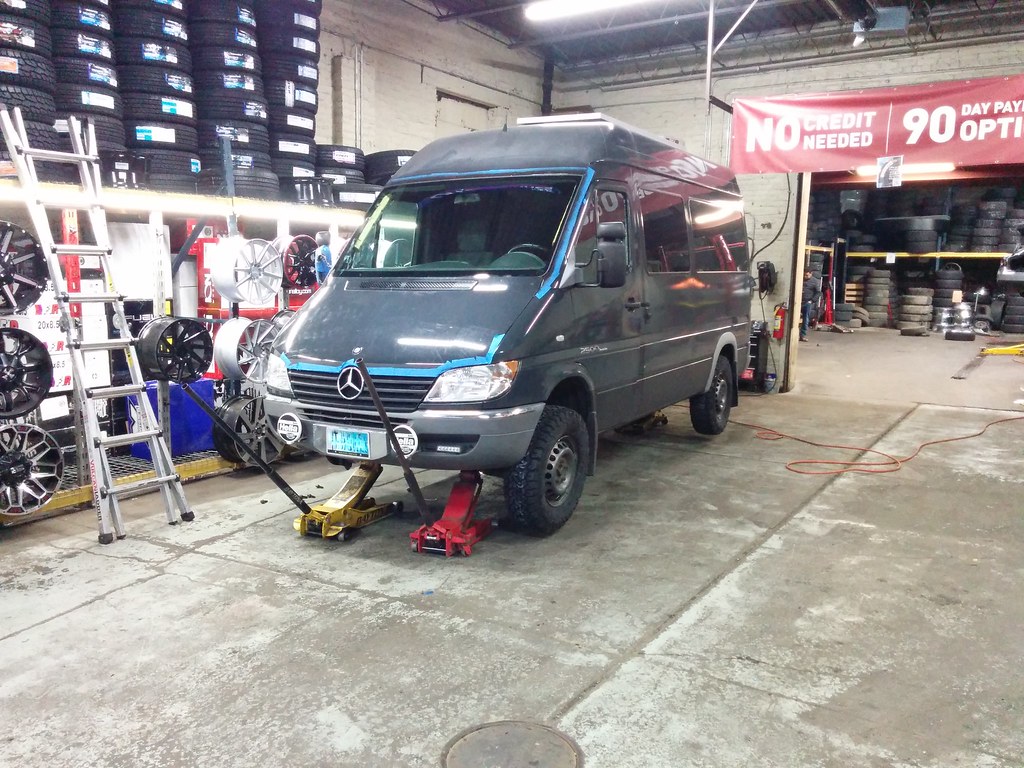
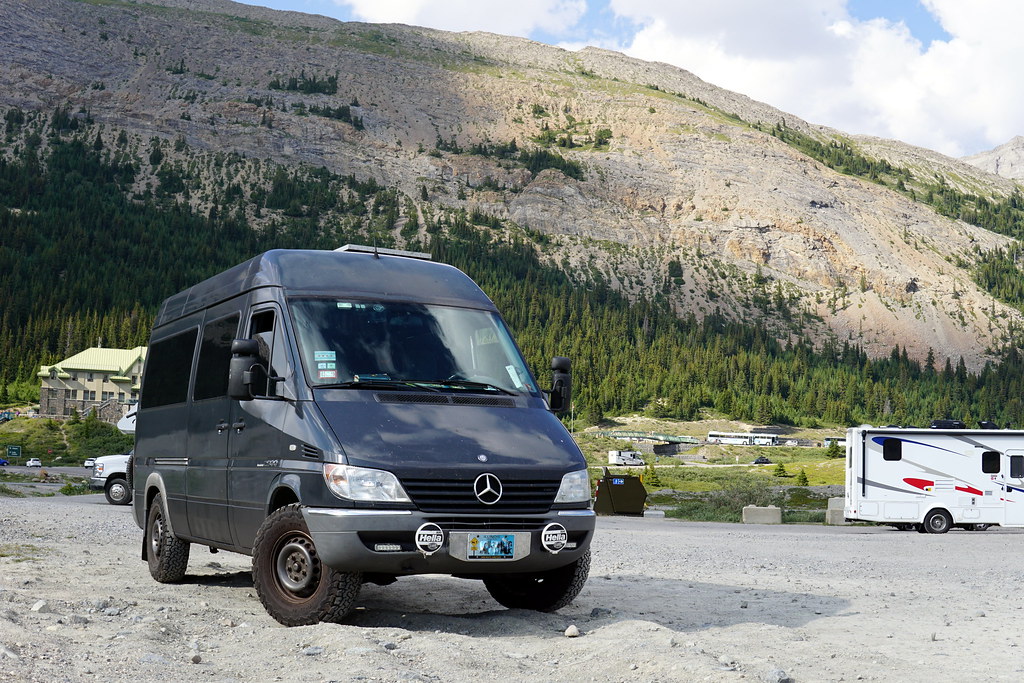
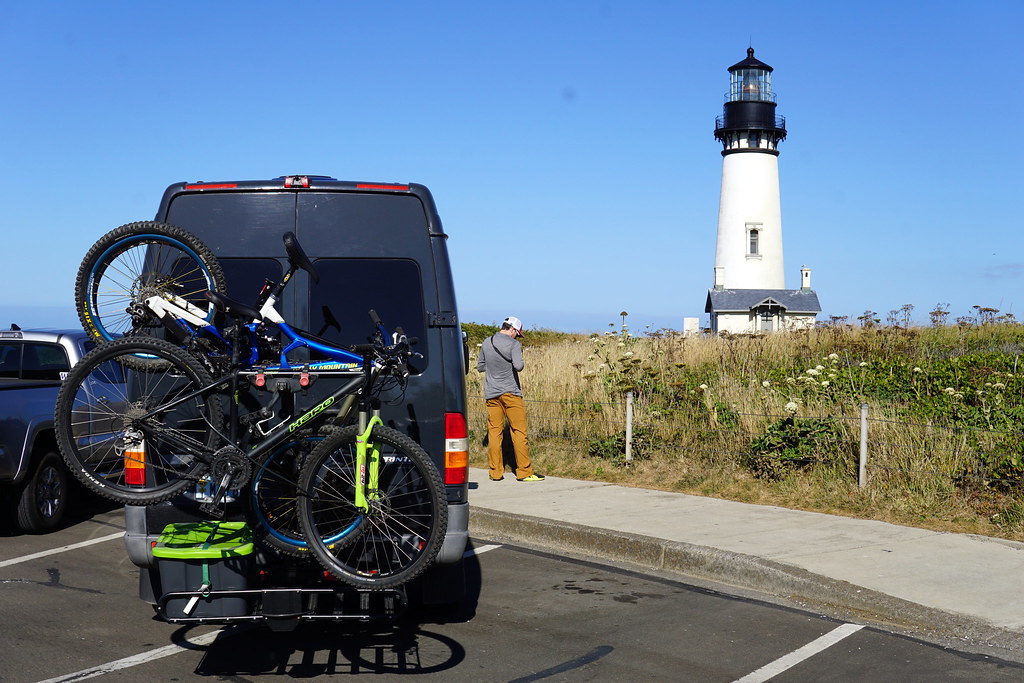
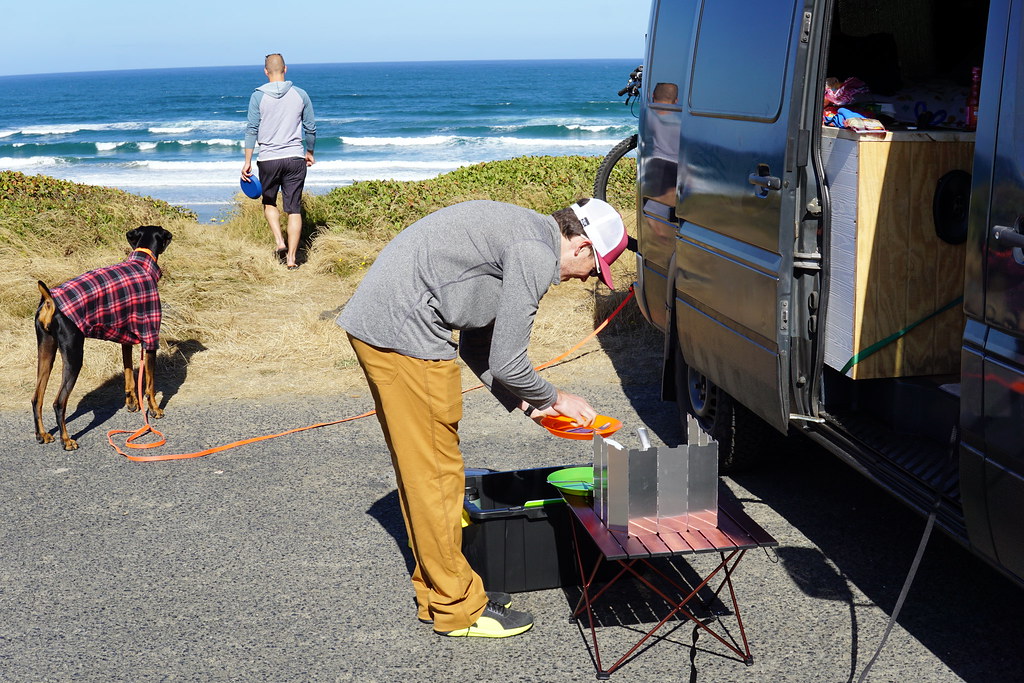
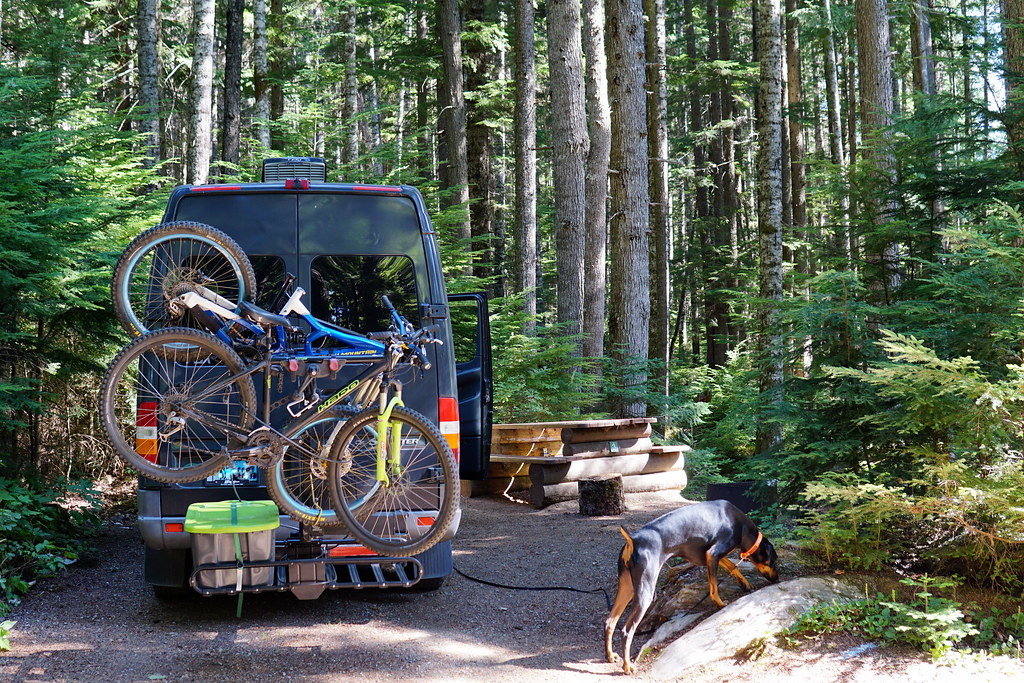
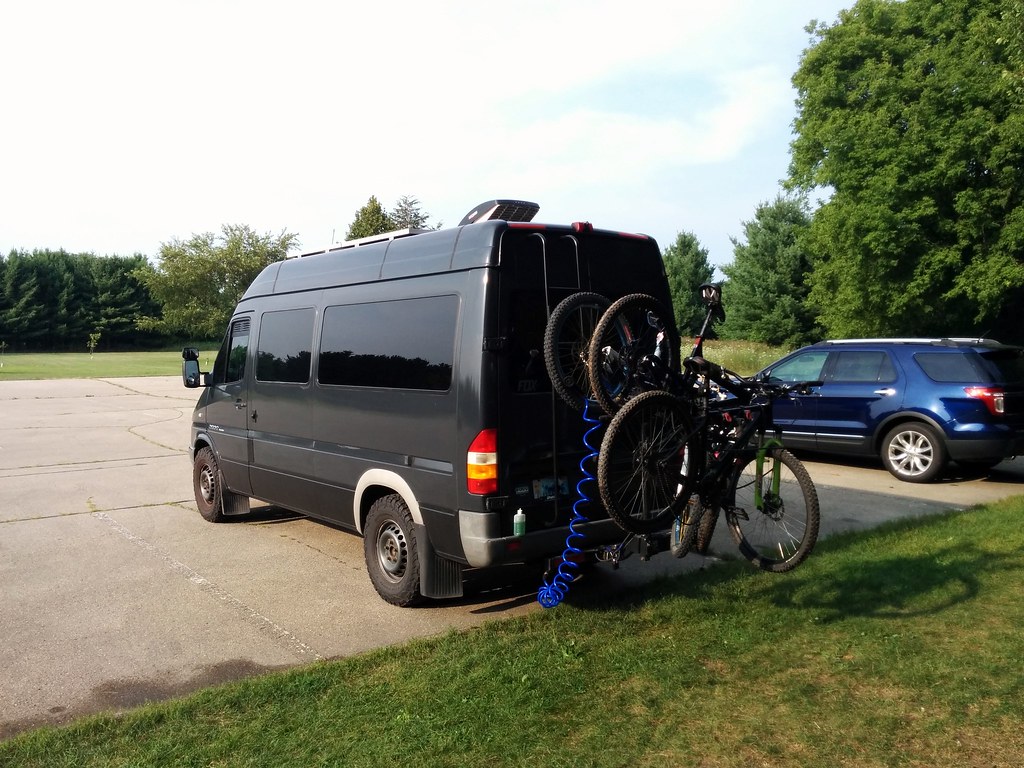
Picture of it after the bottom 25% monstalined:


First thing I did was pull off all of the plastics (mud flaps and wheel well trim). Secondly I sanded down and removed all the rust. I like an angle grinder with sanding discs, they are powerful though so be careful, but nothings better if you have to remove a lot of rust.


Once all the rust was removed I POR-15'ed the rust and bare metal and let that dry. I welded in metal pieces and used epoxy to seal up any rust holes that I punched through. I like PC-7 epoxy as it is less runny that most and is easily sand-able.

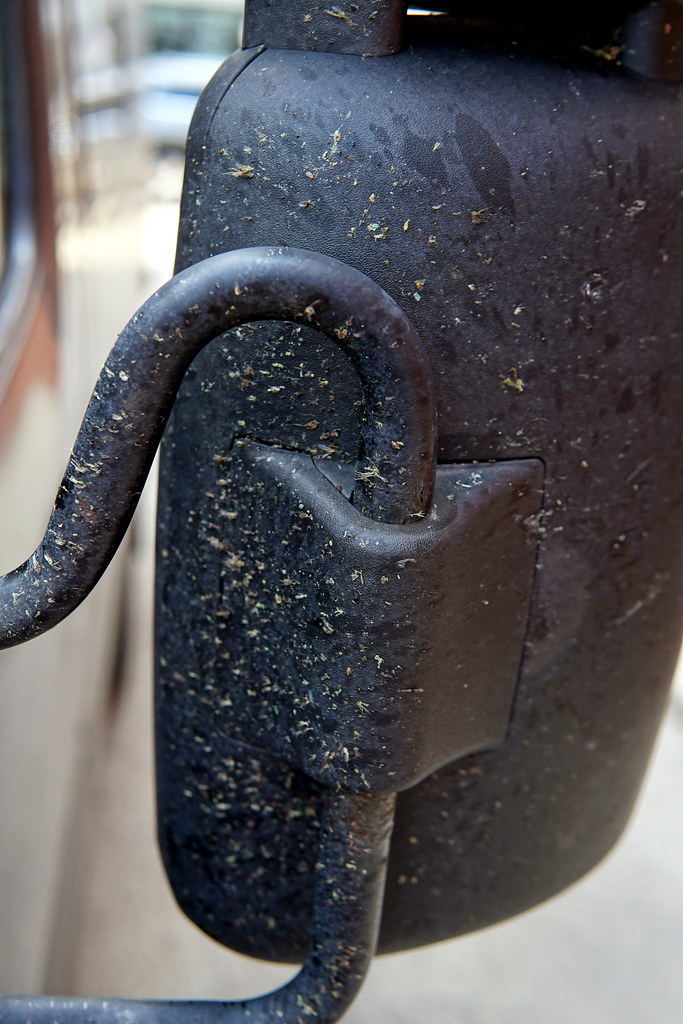
You can see where I welded in new metal and epoxied holes:


The welding and epoxy job didn't look great, but that is why I chose monstaliner, it wont really show the surface defects of my repairs due to the textured surface of it.

So once the POR-15 dried I taped off the area to be painted (very important to be precise and use GOOD painters tape). Once taped I sanded the entire area to be painted with a 180 grain sandpaper, cleaned it and then got ready to paint.


The monstaliner process is pretty straightforward and is better explained by them (Instructions from manufacture) but here are some tips I learned:
-Be ready to paint both coats within 10 hours. Once mixed its shelf life is 6-10hrs
-Buy extra rollers from them. The rollers make the patter and if the roller gets damaged you will have a defect in your pattern (wont look good).
-Touch up with roller only, do not use a brush, it will ruin the pattern.
-Check temp and humidity
-When taping, tape inside the doors as well as you will be painting inside the doors.
-Prepare to paint inside doors and all trim and leave doors open to dry.

I let the first coat sit overnight and did not have a problem with it. Second coat went on fine and turned out well. I used the 1 gallon kit for the area shown per their recommendation and I think that was the perfect amount.

Ill post more pictures of the final result soon, but its holding really well and looks amazing.

good video on it by manufacture
 
Last edited:

alexk243

KulAdventure
I see them. Gnarly rust.
Haha, glad you can see the rust ones.

I've been experimenting with how to upload pictures. Switching between Wix and Flickr... If you guys notice an issue let me know so I switch the way I upload pictures.

Sent from my Nexus 5 using Tapatalk
 

alexk243

KulAdventure
If anyone else is having trouble seeing my pictures could you please comment and let me know.

These are the two hosing sites I am using. If you guys could let me know if you do or do not see both pictures that would be very helpful:

Wix Hosting:


Flickr Hosting:


There should be two pictures on this post. Flickr is a picture of my van near a mine in Telluride, CO. Wix is a picture of my van in a parking lot on the coast near Eagle Harbor, MI.
 

alexk243

KulAdventure
245/75/16 BFGoodrich KO2

So my van came with 225/75/16 sized tires and they were at the end of their life. I really wanted to replace the tires with something that would give me a bit more off-road/trail ability, but not sacrifice MPG/highway noise. After doing a bunch of research about tire size (you can read these threads here, here, and here) I decided to go with 245/75/16 BFGoodrich A/T KO2s. I have had BFG A/Ts before and loved them and the KO2's newer design is much better also.

My concern was if going up a size would fit and although its close they do fit.


I did have to trim up the mudflap though and use zip-ties to hold it back as it had bent in over time.

Took it to a local shop to mount/balance (roughly $25 a tire):


I got the tires from Tirerack.com on sale. I would definitely recommend calling them over ordering online. The guy I spoke with was really helpful making sure I got the correct size/weight rating and also delayed the shipment so I could get a $60 promotion they were offering in a few days.


Tire are installed and look great! Really changes the look of the van and the highway noise isn't noticeably different. However, the MPG dropped, I believe that is due to inaccurate numbers before though... Once the tires were installed my speedometer was corrected (5 MPG difference at highway speed), which I am assuming will effect the MPG readings. I am installing a ScanGauge 2 to try and get a more accurate reading of the MPG.


Discussion about MPG/MPH differences are in this thread.
 
Last edited:

alexk243

KulAdventure
Dodge Sprinter Interior SketchUp and Planning

Next step was designing the interior. As I have mentioned before I really recommend taking many trips before you design the interior. My plan changed so many times after I took trips in it. What I thought was important turned out not to be and things I though I could do without I ended up needing. A lot of my ideas came from previous RVs I have been in including a 2006 VW Rialta (Winnebago conversion) and a campervan rental I used in Costa Rica (Hyundai Starlex Conversion - costarider-campervan.com) which really helped out with the interior design. The guy who does this rental designed 11 of these vans and did such an amazing job with such a small space. Pictures of his design are here.

My goals for the interior build originally were as follows:
-Sleeps 2 permanently, 4 if needed
-Portable Toilet
-Plenty of cargo space
-12v Fridge

Things I added after doing trips:
-Interior shower
-Stove
-Sink
-Large drawer safe

Things I decided I didn't need after doing trips:
-Large inverter for AC current (no need for AC current)

I was going to have help building the interior so I had to get the design out of my head and onto paper (or computer). To do this I used SketchUp (free). In order to use SketchUp I watched countless hours of YouTube videos on how to use the software, which is needed as although its a easy to use software there are a lot of tips and tricks to it.

To Start I used this pre-made dodge sprinter van model that you can download and load into SketchUp. Using the dimensions that measured from my van I cut a cross section out of the pre-made model and made sure all the dimensions I took matched the model I was using. I left the floor plan out of the van for the time being and would eventually move the floor plan into the model.

After a bit of work this is the design I came up with in SketchUp:


Although my model is very simple it finally allowed me to share the design with the guy who was going to help me do the build. It was also very interesting to see what my design would look like in the van. I had to make adjustment as the van was much bigger in my head.

Things that are still in the design phase that I have not figured out is how to construct the folding bed and how to construct the interior shower.

For the interior shower I would like to change the back right corner of the floor into a shower style floor similar to this:


Where the wood is flush or close to flush with the rest of the floor, but drains to a holding tank underneath the van. For the rest of the shower it would just be a hose/shower head and shower curtains that would be hooked into the roof of the van. I am still trying to make this idea work and have not perfected the idea yet. Any ideas on the shower would be very helpful.

For the folding bed I am stuck between piano hinges and legs or running a support beam across. Still in the design phase though.
 

alexk243

KulAdventure
Interior Build

Taking the plan I have above I was able to start work with the guy who was helping me with the build prior to my Pacific Northwest Trip. Although we didn't get it all the way done, it made the trip much more enjoyable having a sink, fridge, and lofted bed. I ended up installing a roll out drawer style trunk safe under my bench seat, which worked amazing. I really recommend it if you plan to leave the van for a while yet still travel with your computer, passports, cameras, etc...

(You can notice that the bench seat cracked on the trip... going to use thicker wood now)

The fridge is a Truck Fridge TF65 as recommended on this forum and I cant speak highly enough about this fridge. Performed great, very quiet and plenty of space.


I also was able to get my plumbing done somewhat... I got a 20 gallon fresh tank installed with the shurflo pump that allowed me to at least have running water and an outdoor shower. I used a retractable coil hose for the sink for the time being. Eventually I want to install a single (cold) faucet and a filtered drinking line to it. I also added an outdoor shower fitting that can accept the same hose.


Outdoor shower connection (located below hitch):
https://c2.staticflickr.com/2/1817/42835640215_65a5b1158a_b.jpg

The lofted bed uses piano hinges (2 hinges) and wood crossbeams for the time being. I am looking for better ideas on it to make it easier to put up and down as I eventually want to make an indoor shower underneath the bed (also looking for ideas on how to do that).


SIDE NOTE: That long hose will be connected to a thru-wall fitting, I just haven't bought one yet. For the time being I just used that long 1.5" hose to fill the tank.

Here are some more pictures of where I am at in the build (how it was used for my pacific northwest trip).


Bed in folded position:


Bed in down position with the pup on it, she loved that spot for the ride. You can also see my my temporary faucet/hose in this pic:


The rear speakers I installed are Alpine Type S 6x9's to match the 4" ones I installed up front and they sound great. My van was already wired for rear speakers though due to it being a passenger van.

Here are some pictures from my Pacific Northwest trip also:

Icefields Parkway - Banff National Forest AB Canada


Lighthouse near Newport, OR


Made it to the coast (Oregon):


Camping site near Whistler BC Canada:


Mirror of bugs after all the driving:


Oh and can't forget this breakdown in the Olympic National Forest. Used solar power to keep the voltage up till I could drive a few hours to get a new alternator and install it in the parking lot.
 
Last edited:

Midwestdrifter

Engineer In Residence
Fun trip. Your build is looking pretty good. For shower ideas, Msnomer posted a thread with a great quick setup indoor shower. Might be worth a look.
 

alexk243

KulAdventure
Fun trip. Your build is looking pretty good. For shower ideas, Msnomer posted a thread with a great quick setup indoor shower. Might be worth a look.
I have considered a removable shower pan similar to his idea, but would really like to get a built in one to double as a storage area for wet/dirty clothing and equipment. Maybe for the time being Ill use a temporary shower pan. Since I have a fresh water and soon will be installing a gray water tank I don't know if it would be much of a stretch to install a shower inside.

Next concern is heating the fresh tank to a comfortable level to avoid mixing water. Been debating a few different ideas from black rooftop tubes to heating coils in the tank.
 

alexk243

KulAdventure
Update on the plumbing. The rear outdoor shower has worked great for showering after mountain biking or just rinsing off the bikes. I am glad I placed the connector underneath the rear bumper instead of those built in outdoor showers (like these) because its located at the rear of the vehicle, which seems to work better for discrete swim suit showers after biking or jetsking.

For the hose I just used a coil garden hose with a garden nozzle on it. This limits the water consumption over a shower nozzle as you have to hold it on and allows for both shower and stream (to clean bikes or whatever). I also used a garden hose quick release fitting that shuts off the water supply automatically when disconnected.

Coil Garden Hose: https://amzn.to/2NRCHGn
Spray Nozzle: https://amzn.to/2LZeegt


alexk243

KulAdventure
Updated my electrical system. When I first installed my system I connected my engine battery to my house battery by a continuous duty solenoid because it was cheap and could tolerate the high amperage. However there is a voltage drop and the solenoid is always hot. After doing research I decided to go with a Victron Intelligent Battery Combiner in the 230amp version (they make a 150a version also). I picked this one because there is no/minimal voltage drop and it works both ways. If the engine is charging the battery then it connects the two, but more importantly if the van is parked and the solar is charging the rear battery it will connect them and charge both batteries, eliminating a need for a maintainer. This one only works if you have a common chassis ground between the two batteries (which I do).

Install was easy and seems to be doing well so far. Connects with charge into either battery. It has an aux start mode, which is important to me also. Only concern is there is no off switch, which is why I have a circuit breaker and on/off that can disconnect the connection if I don't want the engine to charge the rear battery.

I also removed the 100a fuse and replaced with 100a circuit breaker which allows me to disconnect it on the fly. My engine battery cable connect to my system through an 80amp fuse and line originally used for the rear AC which has been removed. So far that 80amp fuse has not blown so I imagine the draw is less than that.

Here is a picture of the battery combiner installed (circuit breaker visible also)
 
Last edited:

alexk243

KulAdventure
Dodge Sprinter Hot Water Heater (fresh tank)

So after debating the different ways to heat my water (propane instant, electric instant, heat exchange, separate tank with electric coil, solar tank, etc...) I decided to go with the least invasive/cheapest way for the time being. I decided to just add a 12 volt coil to my fresh tank and temperature control it to 80-90 degrees, thus preventing the need to mix with cool water. My fresh tank is a 20 gallon medium density polyethylene tank and it located inside my vehicle in the rear.

Parts I needed for this job:
-12v 300w heater coil
-1' to 1-1/2" adapter
-Teflon Tape
-Temperature controller
-30/40 amp relay
-12 Gauge Wire

Started off with removing the 1-1/2" plug in the rear of my tank and installing the heater coil directly into the fresh tank using Teflon tape.


Filled the tank up and checked for leaks. Once it was good I started into the electrical. Removed the bottom right plug with a utility knife. The coil will need 12 volts @ 25 amps and a ground connected to it.


First I wired my temperature control directly into my 12v supply (house battery). Then that output (triggered by temperature probe and settings) went to a 12v switch, which in turn triggered the 30/40 amp relay located in the rear by the tank. The relay then output the 12v via the 12 gauge wire directly to the coil. I did it in the manor to have the high voltage line be as short as possible.


I used some insulation to isolate the temperature probe from the outside air. I made the decision not to drill another hole in the tank for the temperature probe and instead I just tapped it to the outside. That may change later, but from my test the temperature difference was less than 1 degree from inside the tank and outside.

The instructions for the temperature controller were fairly straight forward. I set it at heat, 80 degrees with 10 degree parameter. Meaning when on it will heat to 80 degrees and then not turn on again until the water hits 70 degrees.

My concern with a 12 volt coil is it will take a long time to heat up the water and at 300 watts its going to draw a lot of power (25 amps). This puts a huge strain on the electrical system and it why many people go with a propane heater. I do not need super hot water, I would just like it to not be super cold for showers. I also drive a lot between spots and since I most likely will only be able to run the heater when the engine is going it should be ok for me. This is not a system that would work without the engine running or some external power source in my opinion.

Here are the other methods to heat water I considered and why I didn't go with them.

-Coolant heat exchange - to much work and would require running coolant lines to the rear of the vehicle, more chance for failure.

-Propane Instant HWH - Needs to be vented outside, none seems reliable in a low price point

-Electric Instant HWH - To much power demand, my system could not keep up

-Separate Smaller Hot Water Tank w/coil - Required mixing of water (cold/hot) and running multiple lines and additional tank.

-Roof mounted solar tank - Required a lot of piping and being able to fill on the roof. Would require mixing of cold water as there is no temp control.


If anyone has a better idea for hot water I would love to hear it, this is something I have debated for a while and my campervan is a constantly evolving project.
 

alexk243

KulAdventure
So I decided to update my fog lights that came with the van from the previous owner, mainly to check on the wiring. I have already added Hella driving lights (bought these with these covers), but wanted to update the LED fogs.

I purchased these LED fog lights, but quickly found out that they did not fit... to big for the steel foot-well/step for them to fit. Luckily I had purchased identical ones to what the P.O. had installed (these were the ones I had lying around). So I just swapped them out. Its really easy to mount them in the steel foot-well/step and I am really glad I replaced mine. The wiring down there was a mess... so much extra wire tied up and shady electrical tape jobs haha. All good now and they look much better.


Last edited:

alexk243

KulAdventure
Quick test of my water heater coil took 4 minutes to raise a tank 50% full 1 degree (51-52 degrees) while hooked into AC charger on the battery. Not sure the efficiency would change of running off the alternator. Also not sure if it would take exactly twice as long to warm up a full tank...

If that's the case then 5.5 hours to raise it to 90 degrees (this is a very rough estimate, there are a lot of factors I'm not taking into account).
 

Top Bottom