I am biased but 1" 80/20 joints are not strong enough in my opinion and paneling is more difficult to install. More than half my panels needed to be removable for future access the electrical and plumbing.
Dave has built two and I'm still designing my first, and of course we all have our biases
")
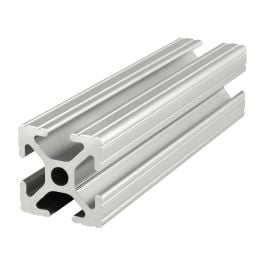
. But that said, after looking at the 80/20 deflection calculator and the connector strengths, I am very comfortable with the strength of series 10. Especially when the structure will be bolted to both walls and floors, with modules bolted to each other. Where I want more strength, like under my battery, I can use 1020 (1"x2") which is stronger than 1515, both in deflection and in fasteners since it uses 2 fasteners per joint.
Series 10 eats up less space in your cabinet drawers and doors, and cabinet space is a precious commodity in a van. Also it is close to half the weight and half the cost of series 15. So there are pros and cons.
That’s good news, yes, 1/4” paneling will be much more solid. Out of curiosity, how are panels fitted in - as each segment of the cabinet is put together? Am trying to visualize the process... full panels are stained or painted then cut to size as the cabinets are put together? Sorry for such a basic question.... this 8020 stuff is all foreign to me...
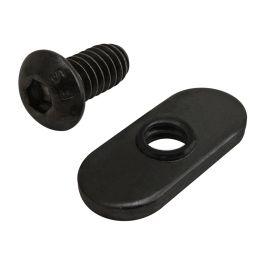
The default 80./20 assumption is that panels are inserted in the slots. Yes would have to be cut and finished ahead and then inserted during assembly, but edge finishing is not needed since edges are hidden in the slots. Panels installed this way are not removable without some disassembly. But you don't even have that option with most wood cabinetry.
You can buy cut to order panels from 80/20, including the notching needed for connector clearance. It costs more than cutting your own of course.
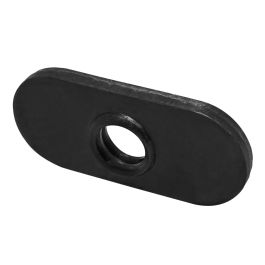
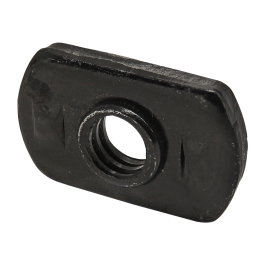
Yes it is not as easy to mount removable panels flush with the frame surface. There are no standard panel mount parts that allow this. There are for series 15, but Dave fabricates panel mount hardware of his own design. I did design a modified panel mount part that would allow flush mounting of panels in series 10 and got some CNC quotes, but not yet sure if I will order them.
Sliders as George pointed out can a good solution in some cases where removable panels are needed, and 80/20 has the slider tracks. The sliding panels are also easily removable without screws.