
At the risk of relaying information that may be known, when sizing cable the length of the run is critical. In our case, the inverter is ten (10) feet from the batteries.I believe 2/0 cable should be capable of handling 3000 watts continuous. More for shorter periods. I tested mine by running my 1800+ watt microwave, 600 watt Nespresso machine, and the 600 watt Isotemp water heater. My run from batteries to inverter is relatively short. You might have a difficult time making multiple 4/0 connections even on a 3/8” battery terminal. I also use the same 2/0 welding cable as the feed for my 280 amp Nations alternator.
Check this link:
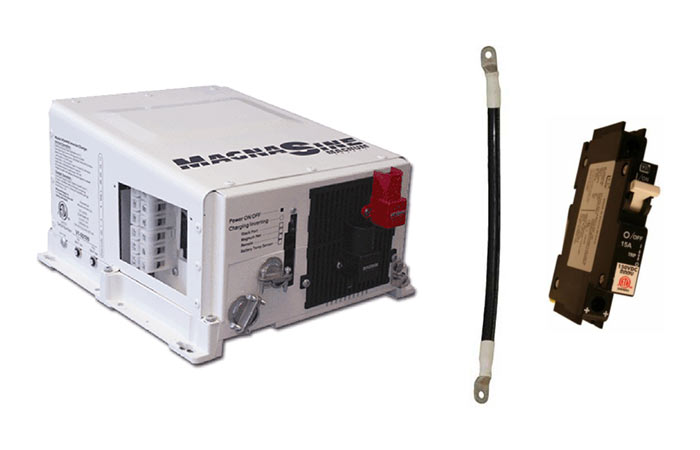
Recommended Inverter Cable, Breaker & Fuse Sizing | DIY Solar
This DIY solar resource helps DIY solar installers to size cables, breakers, and fuses for a battery-based 12V, 24V or 48V solar inverter.
 www.altestore.com
#2/0 is good for 175-195 amps, depending upon the insulation type:
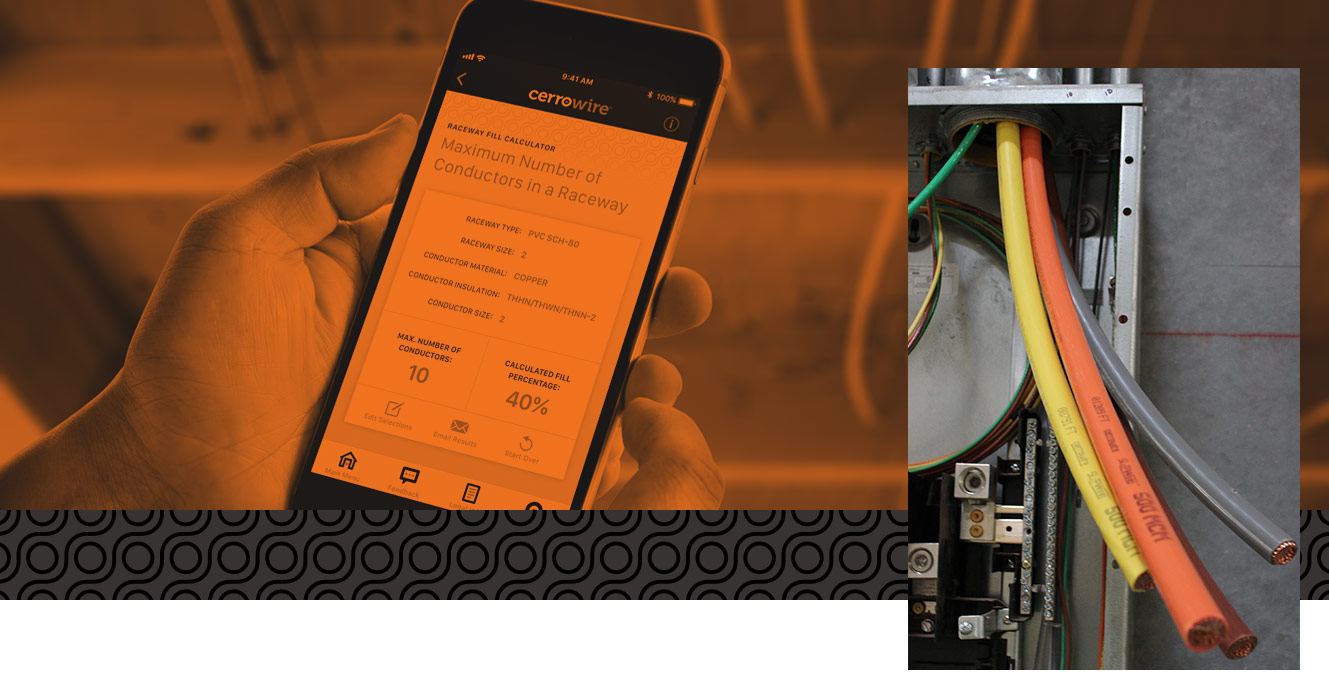
Cerrowire Resources - Ampacity Charts
Ampacity is the maximum current that a conductor can carry continuously under the conditions of use without exceeding its temperature rating. Cerrowire's ampacity chart helps calculate the load requirement for a circuit.
 www.cerrowire.com
Best case, 195 amps x 12 volts = 2,340 watts.
The ampacity is focused on how much current the wire/cable can carry without the insulation becoming too hot and melting. Voltage drop and lost energy will be a concern long before that happens.
Inverters can operate with undersized cables, but they will be less efficient and may not be able to produce their full rated output.
Every installation is different.
")
