Toy Hauler Build

GrayGhost

New member
I doubt your van will see much abuse or twisting, but you might consider some gussets or metal angle brackets for your cabinets. They add lots of strength, and they prevent "racking" during a crash. I used 2 of these brackets in the corners of my galley, and then put a bolt/rivnut to secure the bracket to the van wall.
Will do , I plan to add some aluminum angle anyways to my three mounting points. I will make sure to make a few corner braces as well.
 

dynaco1

Member
Which brand and model Rollover Couch Bed did you buy? What is the overall height of the back rest when upright?
 
Last edited:

GrayGhost

New member
Today's progress. These rollover sofa beds are made to be mounted to the wall. I thought outside vans were on to a great idea when they built frames instead. With space at a minimum, I decided to panel the front of mine and hide battery bank and all electrical underneath. (To come later).

After I verify all will work, these will be removed and powdercoated.
 

Attachments

Last edited:

GrayGhost

New member
Today finally saw some additional progress. Pulled the walls back down to run wiring, installed the maxxair fan (cutting the second is easier like most have said), dicor'd all the roof seams, and installed the two 100 watt solar panels. We used stainless 6mm bolts instead of the self tapping screws they sent. Generous Dicor on those as well.
 

Attachments

Last edited:

HarryN

Well-known member
Great work.

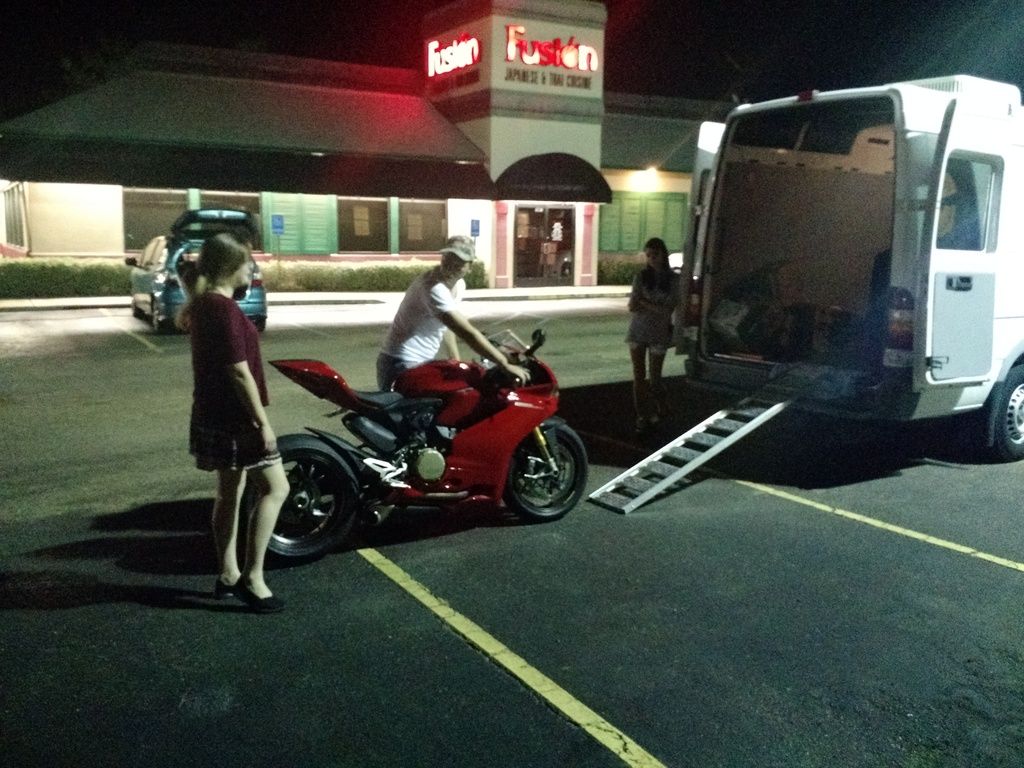
Do you have a good method for getting bikes into the back from flat ground? My old Triumph is over 350 lbs, no way to just lift that.
 

GrayGhost

New member
Very much appreciated , anything you see was copied off of someone on this board , ha! Currently we have been loading the bikes with an aluminum ramp and it works quite well, but it takes up a ton of space. I believe I will switch to a tri folding ramp SET ( one for my feet walking up and one for the bike ) after the build expense is over.


GrayGhost

New member
Hooked up the electrics in just a quick add dirty fashion to test my battery life. All seems well so far running lights, fan, fridge all night.
 

Attachments

Last edited:

GrayGhost

New member
Making progress! You got a chance to use the van yet? You must be getting close with the interior?
I'm actually embarrassed at my LACK of progress . In trying to complete this with a level of fit and finish that doesn't scream "home built" , things are taking a very long time. Mainly because I am not a carpenter, engineer, wood worker, electrician, or upholsterer haha.

Items left are :

Paint galley cabinet
Install countertop
Build ceiling and cove panels
Upholster everything
Powdercoat bed mounts and upper cabinets
Build upper cabinets
Mount all displays
Mount TV
Lay Coin Flooring
Mount "garage L track"
Mount Water Tank
Plumb sink and Shower
Mount Pedestal Table
Mount Passenger Seat Swivel
Order Vent window for Sliding door ( OUCH ON PRICE!!)
Recreate your Headliner Storage idea
Make window coverings


Completed items are :
Install A/C
Install Maxxair fan
Insulate
Run all electrical
Fridge
Install Sofa Bed
Build Bed Boxes
Galley
Solar
Minor Rust rehab on roof


Daunting , but I'm using the "how to eat a whale " process aka one bite at a time. I have said multiple times in this thread but this forum and community are amazing in helping each other by advice and documenting its builds.
 

Midwestdrifter

Engineer In Residence
Even if it looks home built, its still WAY better than the guys trying to rock track days with a flatbed trailer and class A RV. :smilewink:

Vans 4 Life!
 

Midwestdrifter

Engineer In Residence
I think you have struck a good balance between complexity/usability and aesthetics. Looking quite good thus far. I may refer folks to your equipment choices for moderate usage builds.
 

GrayGhost

New member
I'm noticing my photos are HORRIBLE, I'll get some daylight shots soon. I work on this thing after work till late so anytime I complete anything it's basically midnight.
 

Top Bottom