Toy Hauler Build

GrayGhost

New member
First shakedown run has commenced, 588 miles on the first leg. Spent the night on the Blue Ridge Parkway in Asheville, NC.


Midwestdrifter

Engineer In Residence
:cheers: A person could get used to waking up to a view like that every day. Gotta be careful, if you loose track for a a day or two you might find yourself a country over and wondering how you got there. :shifty:
 

GrayGhost

New member
Quite a lot has happened since the last update , still progressing much slower than I would like.

L Track is up on the walls using 1/4 -20 rivnuts (little tip here , don't use the suggested drill bit , just pilot then use a unitbit to roll up to 3/8ths).


Also upholstered the rear and side door cards.


We took a small trip out to NC and TN , lots of smoke and forest fires. Still beautiful but on a hike at Whiteside mountain we were reminded not everyone is kind. I'm assuming they heard us coming down the trail and scattered because the side window was scratched from an attempted pry job and the windshield was well........


We didn't let it get us down , lil duct tape and some quarters in a vacuum machine and we were on our way.

After that , we did a bit of offroading to get up to a spot called the "Buzzard's Roost"


After returning home , we had a friend that does glass rehab a little rust from the last owner's ****TAY windshield guys workmanship and some new glass was fitted .


Now for my favorite addition so far , the Motion Sliding window!!! Expensive as all get out , but very nice. Install was ridiculously simple . Tape up , mark, cut with jigsaw, etch prime , bolt in.


Every van needs one of these , the light and breeze with window open and Maxxair on is AMAZING!! We'll find out how water tight it is IF it ever rains here again.

Only other progress was the upper walls , these had been bugging me . I just couldn't figure out a way to get the T1N curve to match up right . So , instead , We made standoffs that are angled as such the the upper walls have no curve . The remaining upper wall space will be cabinets on the driver's side.


Next up is the water tank, pump, heater, shower on the passenger side .
 

Attachments

Last edited:

Midwestdrifter

Engineer In Residence
Making good progress! Sorry to hear about your troubles. There are idiots everywhere, thankfully windows aren't hard replace. I had a GM company truck that was broken into using a 1 inch drill bit through the front door. That was a bit harder to fix. :lol:

Looks like you saw some pretty cool spots with your van. When you finish the outfitting your van will be a great platform for expiration.
 

GrayGhost

New member
Very little progress lately due to using the van so much! Did paint the cabinet, got a countertop done in Corian, and set up some removable LTrack mtn bike mounts.
 

Attachments

Last edited:

Midwestdrifter

Engineer In Residence
Very little progress lately due to using the van so much! ...
That is what I like to see. Don't be like us dumb folks and spend 2 years on a build before you enjoy it... :hmmm:


Assuming Mega-Ice-Storm 2017 doesn't ground all the planes, I have a good chance of seeing my van again by Monday!
 

fsneeringer

New member
Awesome build thread! Sorry to hear about the windshield, glad it was able to be remedied quickly.

I'm definitely going to follow this as I just got an 05 T1N 158" that I'm planning on doing a similar conversion but will be hauling a dirt bike rather than a track bike. Thanks for all of the ideas and pictures!
 

GrayGhost

New member
Awesome build thread! Sorry to hear about the windshield, glad it was able to be remedied quickly.

I'm definitely going to follow this as I just got an 05 T1N 158" that I'm planning on doing a similar conversion but will be hauling a dirt bike rather than a track bike. Thanks for all of the ideas and pictures!
Thanks my man , we do a little dirt biking as well !
 

Attachments

Last edited:

GrayGhost

New member
Very unfortunate that Photobucket has basically wiped my thread clean , I'll try and find a solution for that shortly .

That said , a few items have come together recently , curtains built in the outsidevan/rb/strawfoot style . I would recommend simply buying these as it is a LOT of work . Also added Fox shocks from Agile offroad and can mirror what most here have said that it all but eliminates the side to side rocking . I would say there was a minor ( 10% ) increase in the harshness of small bumps but without a doubt worthwhile.

After the shocks were finished , we got started on the stainless steel shower pan and bike work stand . Cheapie ebay model but its steel and removable , two things I wanted .
 

Attachments

Last edited:

Outlookela

Active member
curtains built in the outsidevan/rb/strawfoot style . I would recommend simply buying these as it is a LOT of work .
Any recommendations on where to buy curtains? Am using cut up shower curtains and magnets right now, but as we head for winter might like to change it up. BTW the shower curtains I used were nice colours/patterns - adds alot to the ambience in the evening, so may end up wanting to embellish any purchased curtains.
 

GrayGhost

New member
Any recommendations on where to buy curtains? Am using cut up shower curtains and magnets right now, but as we head for winter might like to change it up. BTW the shower curtains I used were nice colours/patterns - adds alot to the ambience in the evening, so may end up wanting to embellish any purchased curtains.
https://strawfoothandmade.com/ is a member on this forum that makes and sells curtains that are VERY nice, insulated , and affordable . :cheers:
 

GrayGhost

New member
The plan is to build a full time capable Van with space for one motorcycle and all that goes along with road racing . Since it will be multi purpose , there will be elements that have to be dual purpose. It also means , there will be lots of "wasted" space when the bike is not in there . Any ideas are always appreciated.

Here is the initial questions thread: https://sprinter-source.com/forum/showthread.php?t=45939

The Van :

2006 T1n with 156k miles
Former Medical Supply Delivery Van
158" Wheelbase

The Build : (this will constantly change I'm sure)

Coleman Mach 8 Cub A/C
Maxxair Fan
Motion Slider Screen window
Prosine 2.0 Xantrex inverter Charger
AGM Lifeline 255ah
TruckFridge tf49
Thinsulate Insulation
Rollover Couch Bed


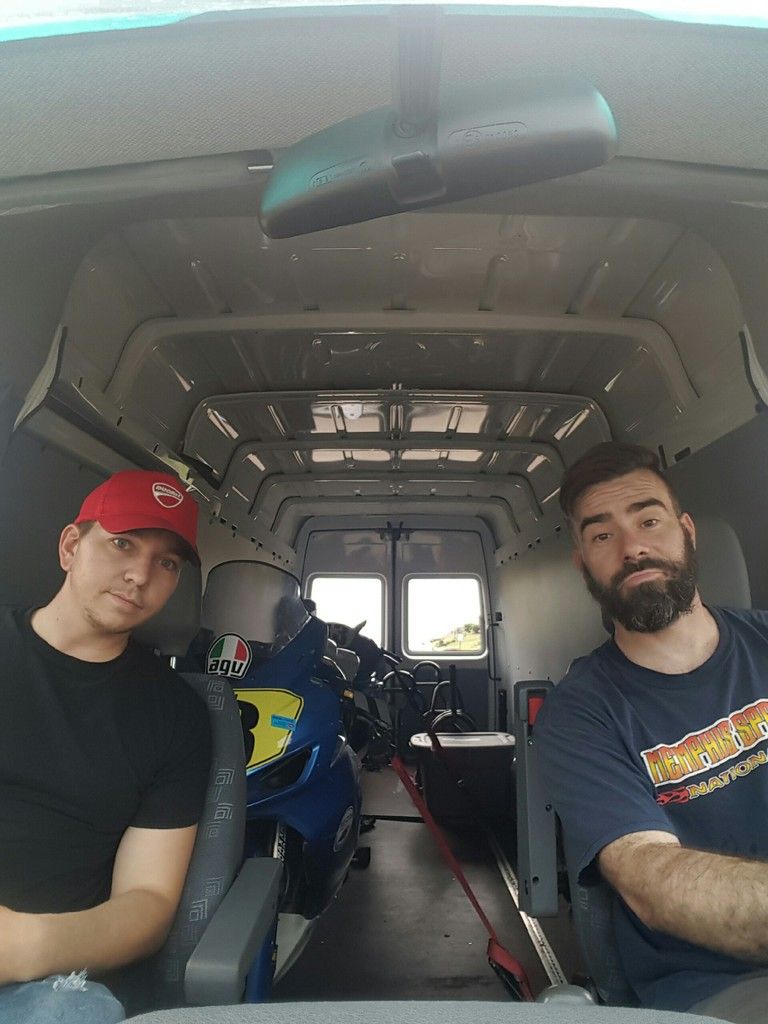
Here a couple shots of the Van and its first outing ( not all that fun with no buildout and nowhere to organize things).


Attempting to clean up the mess photobucket has created.
 

Attachments

GrayGhost

New member
Alright , so the Espar underseat install is underway in much the same manner as everyone elses. A few T1n specific items below though for people that may search " T1n Espar"

The passenger seat pedestal has a frame rail running right down the middle of it so you have a choice of mounting it to the drivers side of the rail or to the passenger side. Both have their issues and given to do it again I'd mount on the left (driver's ) side of the passenger pedestal. When you mount on the outside of the rail like I did ( toward the passenger side) , it means you cannot follow the instruction of " the fuel line must only rise from the tank to the heater" without drilling a pass through hole in the frame rail. This is what I did since the hole is so small , I did not think it would be an issue.

2nd caveat , if following the exhaust routing instructions when talking about pipe length , you can really only route to right by the slider. This is actually what I'm most annoyed with since I HATE the smell of diesel fumes. But that's just the layout on the sprinter when putting in the pedestal . Doing it again , I would mount to the left of the rail and route my exhaust , albeit heavily heat wrapped , out the driver's side.

Then why didn't I mount it this way ? Ease, I'm getting toward the end of my conversion , I hope, and I'm just getting TIRED. Mounting it on the left would place it directly above the muffler/cat/heatshield and all of that would have to be removed AND lots more heatshielding done.


As of right now my heater is mounted , fuel line run , pump mounted . Heatso mistakenly did not include the connector for the fuel pump so I am currently waiting on that to arrive. Also I needed to order the proper double crimp tool for the connectors , keep in mind you will have to have a set of these to install your heater.
 

Attachments


Top Bottom