Installing cab headliner insulation, did you glue, tape, or friction fit?

When I installed my front headliner insulation I..

  • glued the insulation to the headliner first, in one piece

    Votes: 1 4.0%
  • glued the insulation to the headliner first, in multiple pieces

    Votes: 2 8.0%
  • glued the insulation to the van walls in one piece

    Votes: 7 28.0%
  • glued the insulation to the van walls in multiple pieces

    Votes: 8 32.0%
  • did it another way

    Votes: 7 28.0%

  • Total voters
    25

IPT

Active member
Got my headliner out and am about to insulate the front cab area. Seems like some people attach the insulation (in my case Thinsulate 600) to the rigid headliner itself, then put the entire thing back in. It was awkward and bulky to get out as it was, and I can only imagine this would make it more difficult to get back in. Seems like it might be easier to apply directly to the van walls (though some drop cloths will be needed to contain overspray. Anyway, how did you go about it?
 
Last edited:

elemental

Wherever you go, there you are.
Re: Installing cab headliner insulation, did you....

I used double-sided tape to attach multiple individual pieces of insulation to the van skin, then put the headliner back in place. I was following the installation procedures for the Adventure Wagon RUV kit, which included the insulation as well as the double-sided tape.
 

IPT

Active member
Re: Installing cab headliner insulation, did you....

I used double-sided tape to attach multiple individual pieces of insulation to the van skin, then put the headliner back in place. I was following the installation procedures for the Adventure Wagon RUV kit, which included the insulation as well as the double-sided tape.
Oh, interesting that they use double sided tape vs the standard 3M spray adhesive. Thanks for sharing.
 

hein

Van Guru
I have tested 3M 9832 double sided tape (PSA film) but the spray adhesive is much easier/faster and provides adhesion over a larger area. It is important for the Thinsulate(TM) SM600L to be against the metal to reduce panel resonance. The double sided tape does have a unique smell to it which some may like and some may not. It can be applied with a packing tape dispenser but still quite a bit of work and cost to cover a large area. 3M 90 is still our preferred method especially for areas where the Thinsulate will be suspended.

We do have a number of rolls of 3M 9832 in stock if you want to use it. Please contact Kim to order.

All the best,
Hein
DIYvan
 
Last edited:

Garandman

Active member
Just did this yesterday, Glued Thinsulate to van roof with Super 90. Left the areas near the wiring unglued so we can get at them later without issue.
 

IPT

Active member
Thanks all. Opted for spray adhesive. Was worried about overspray, but once the bottom is tucked into the windshield rail you can just lift up the rest of it and make a neat little area to spray roof and thinsulate without much room for fallout or overspray. One more thing check off the list!
 

dynaco1

Member
Is there benefits to be gained from two layers of Thinsulate in cab headliner? For instance, one glued to steel skin and a second layer on top of headliner?
 

radair603

Member
Thanks all. Opted for spray adhesive. Was worried about overspray, but once the bottom is tucked into the windshield rail you can just lift up the rest of it and make a neat little area to spray roof and thinsulate without much room for fallout or overspray. One more thing check off the list!
That's the way I did it also and it was super easy.

Is there benefits to be gained from two layers of Thinsulate in cab headliner? For instance, one glued to steel skin and a second layer on top of headliner?
There is certainly room for more insulation after you put the headliner back. We used up some leftover reflectix on top of the headliner. My van is black and i did extra on the ceiling wherever I could. It makes a huge difference too. That black cargo van was an oven before Thinsulate!
 

gltrimble

2017 170 4x4
Is there benefits to be gained from two layers of Thinsulate in cab headliner? For instance, one glued to steel skin and a second layer on top of headliner?

I installed Noico sound deadener over 50% of the area followed by two layers of Thinsulate 600 over the cab, one on top of the other, using 3M 90 spray glue. Plenty of room. Definite reduction in wind noise and more thermal benefits in the roof portion not covered with solar panels.


Sent from my iPad using Tapatalk
 
Last edited:

travisap

2008 Dodge Sprinter Campervan
Cut a piece of thinsulate to size and stuffed it in with my arm until I knew it reached the back and sides. No glue or adhesive used since the factory headliner piece will press on it and keep it in place.

Almost got my arm stuck, but eventually got it out with my some help :doh:

This was in my NCV3 Sprinter
 

russinthecascades

Active member
I installed Noico sound deadener over 50% of the area followed by two layers of Thinsulate 600 over the cab, one on top of the other, using 3M 90 spray glue. Plenty of room. Definite reduction in wind noise and more thermal benefits in the roof portion not covered with solar panels.


Does it matter whether you attached thinsulate fabric side to metal or fuzzy side to metal? All my interior thinsulate is fuzzy side to metal, but the opposite is pictured above.

Side Story: I have not (yet) insulated our cargo van above the head liner (everywhere else is thinsulate and paneling). A couple of weeks ago we cooked breakfast inside the van with a T-window slightly open, interior mounted fan on for circulation and Maxxair fan on exhaust. While eating in the swivel front seats my wife noticed water drops coming out of the light in the headliner. I pulled the light out to find the interior roof covered with moisture. I reached through the hole to wipe out a much as possible with a towel. I checked it on subsequent mornings when we didn't cook breakfast and there was very little moisture. Need to get that insulation in asap.
 

gltrimble

2017 170 4x4
Does it matter whether you attached thinsulate fabric side to metal or fuzzy side to metal? All my interior thinsulate is fuzzy side to metal, but the opposite is pictured above.
I cannot remember which side Hein recommends to glue to the exterior wall. Most of my Thinsulate was installed with the scrim, black side, toward the metal exterior. It sticks well either way in my opinion using 3M 90 spray adhesive. Even when installing two 2” layers on top of one another they stick together and will not move.

Sent from my iPad using Tapatalk
 
Last edited:

kcshoots

VanTripping.com
I too used spray adhesive to attach thinsulate. I then also taped the seams with foil tape. Probably an unnecessary step but does prevent future wire pulls if needed easier to push thru. I think I was able to put in at least two layers and many places three layers. I also foil taped in some Low E reflective foam insulation over the top of the thinsulate in areas to provide additional insulation, as well as a wire chase from A to B pillars.
 

Midwestdrifter

Engineer In Residence
Typically the scrim side is not attached to the metal. This is because the scrim is less likely to get stuck on wires or interior panels. There is no major downside to attaching scrim side to the metal otherwise.
 
Last edited:

markxengineering

Active member
With thermawrap, there’s a more substantial scrim, and that side should be on the wall for best sound deadening properties. Otherwise it reflects sound instead of absorbing. With thinsulate, this is not an issue.
 

Dtronn

Active member
with the hogh roof i've got maybe , 3 to 4 cubic ft of empty space... Seems like such a waste, esp. as we all try to make every inch count!!! Is there an option to this?
 

RVBarry

2023 AWD 170 DIY CamperVan
with the hogh roof i've got maybe , 3 to 4 cubic ft of empty space... Seems like such a waste, esp. as we all try to make every inch count!!! Is there an option to this?
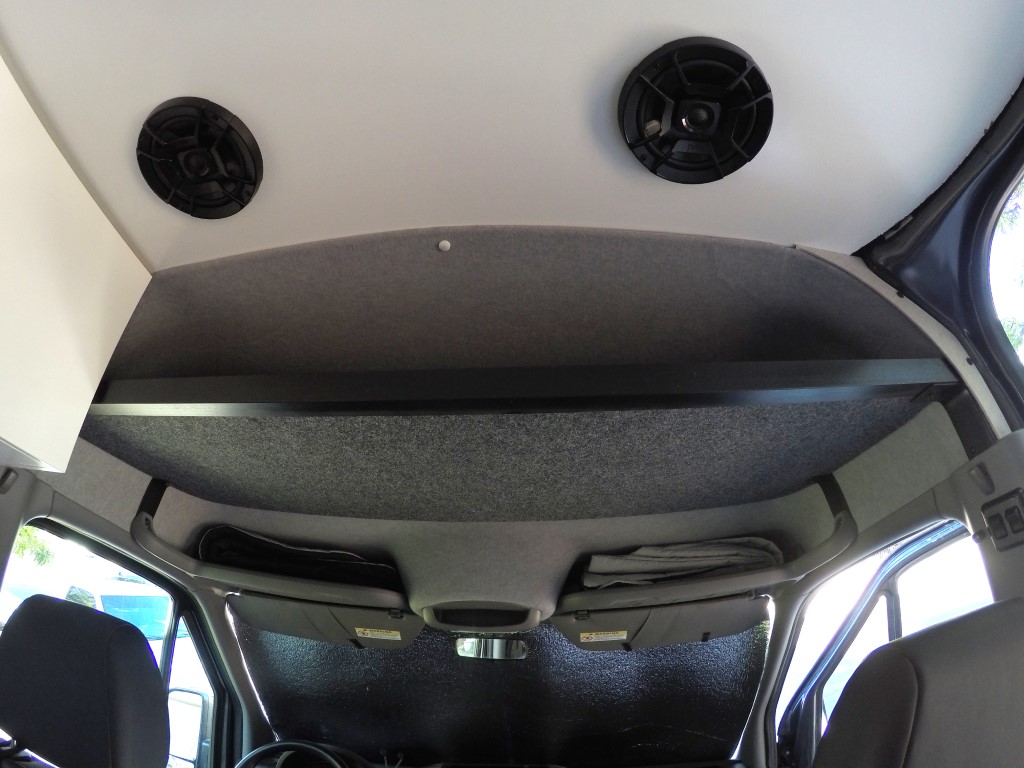
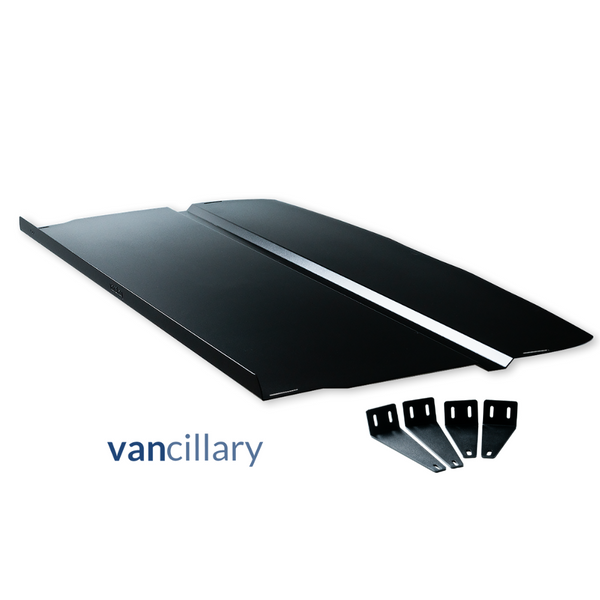
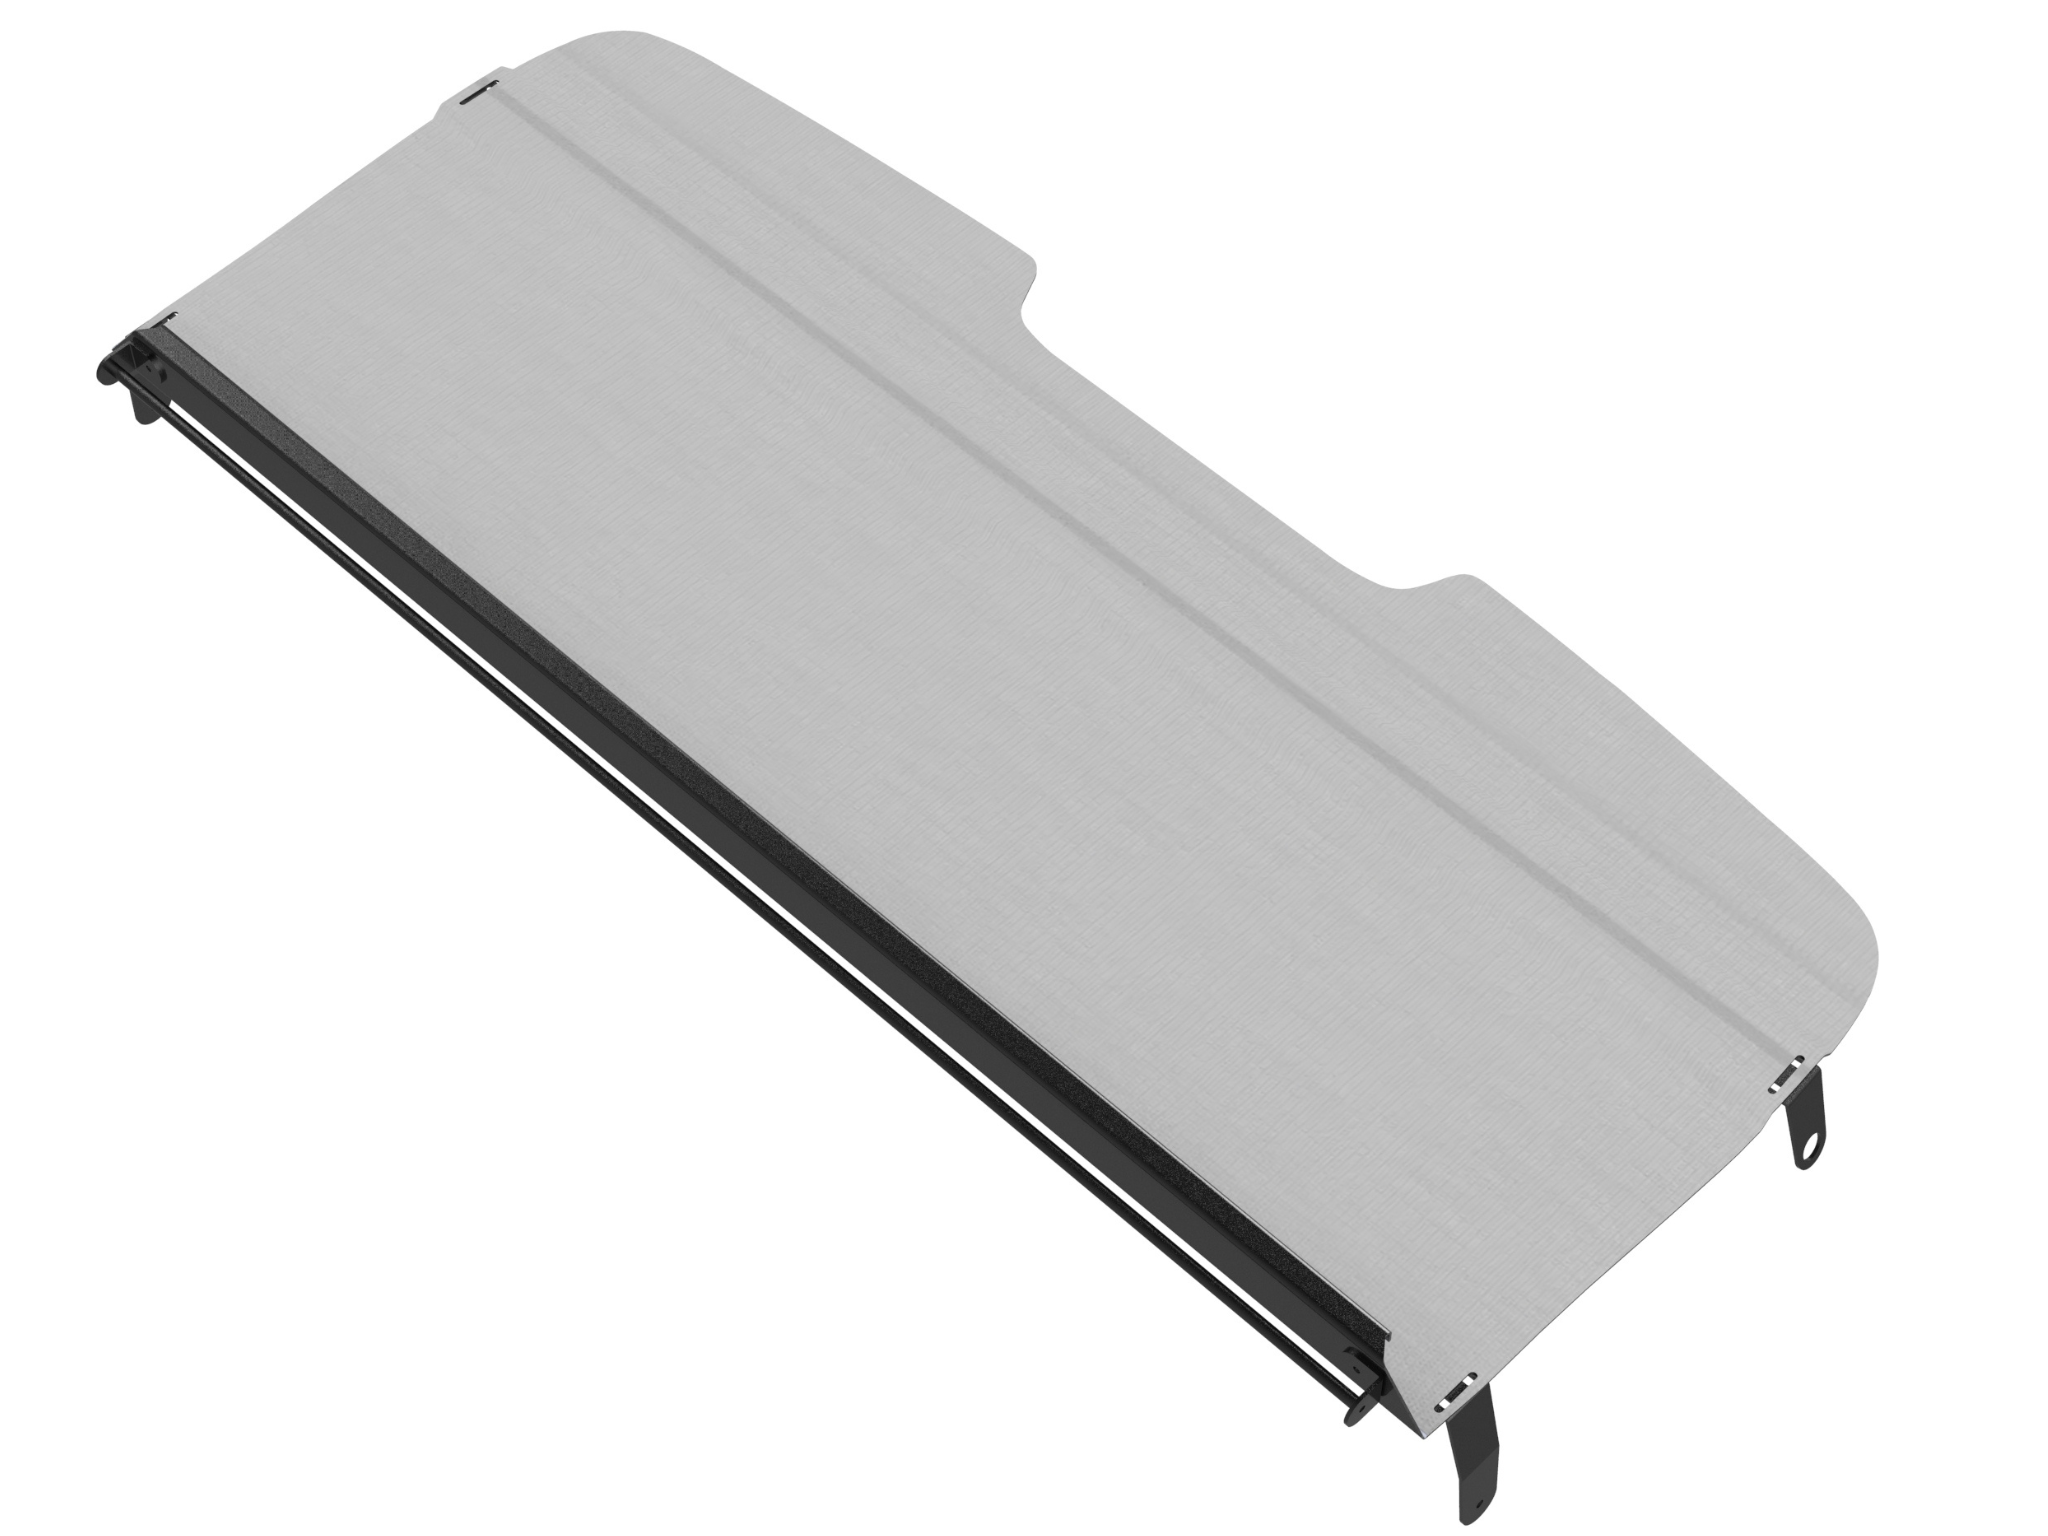
Hi, if you mean a headliner shelf, there are quite a few available.


Dtronn

Active member
those are all good options for under the stock headliner... I was thinking about after I pulled the huge styrofoam stock plugs and looked back there prior to complete removal, that even with glTrimble's double insulate with sound deadener (a great idea) that there is still a huge air void space... am I wrong on that ? my dash removal kit will get here today, guess Ill have a better look after thanks friends!
 

gltrimble

2017 170 4x4
those are all good options for under the stock headliner... I was thinking about after I pulled the huge styrofoam stock plugs and looked back there prior to complete removal, that even with glTrimble's double insulate with sound deadener (a great idea) that there is still a huge air void space... am I wrong on that ? my dash removal kit will get here today, guess Ill have a better look after thanks friends!
Two layers of 2” Thinsulate will easily fill the largest part of the void. The void is probably 3-4” max and it narrows from that in all directions. The combination of Thinsulate and sound deadner eliminated the wind noise that emanates from the roof.
 

ScottWCO

Active member
One van builder with a YT channel did a video recently where he took a headliner (for a Promaster, but shouldn't matter) and affixed a layer of Reflectix onto the back side, and then a layer of Thinsulate on top of that, and then could return the headliner back to its original position. (Apparently the Thinsulate acts as a sufficient "air gap" for the Reflectix to function as designed.) Nice thing with this method is there's no worries about getting at any wiring one could normally access when pulling the headliner.

I'm looking to do the same thing with my T1N. What I'm curious about is, what adhesive would be best (or sufficent) to use? I've got some 3M 90 for the Thinsulate already - would that stuff work for sticking the Reflectix layer onto the back of the headliner itself? I would imagine so but I'd prefer some input before I go messing around with it.
 

Top Bottom