Steve,
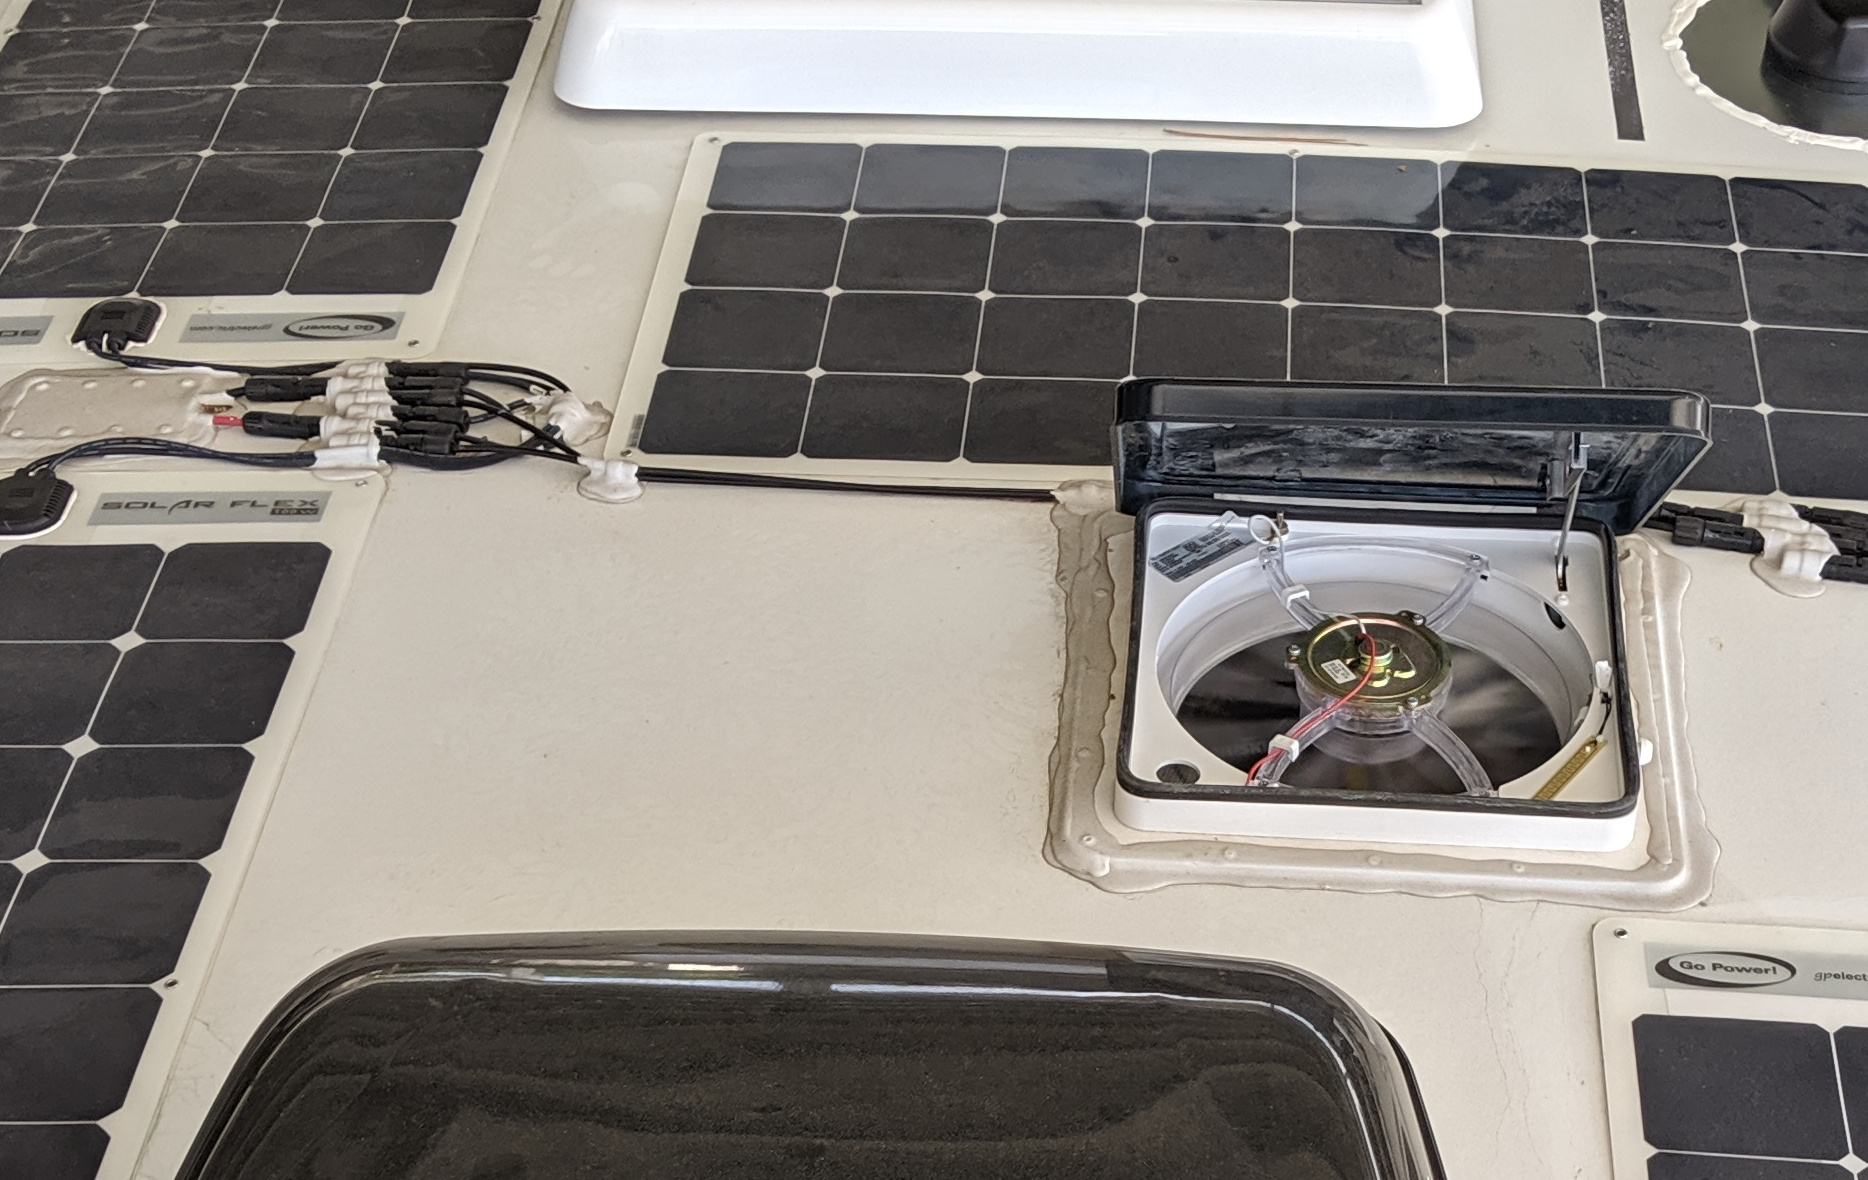
The 12awg fuse enters the battery compartment from the rear departing from a wire bundle easily accessed on your back under the vehicle. You should be able to pull the fuse holder out through the access hole. LTV has a taped solder splice off the 8awg down wire. There is plenty of wire to cut off the fuse wire. It will be easier to crimp splice outside (behind) the battery box and run the wire direct to your controller. You can use the existing inverter bay access hole to enter the compartment and to also run the positive from the controller back to the battery compartment which you can then fuse.
Blue Sea Systems has marine grade 6awg in line fuse holders.
https://www.bluesea.com/products/5068/MAXI_In-Line_Fuse_Holder
When you switch to a MPPT controller you're pushing it to stay with 4 parallel panels and 8awg wire. It depends on the total wire length LTV used which is unknown. I was uncomfortable with such a narrow safety margin on a bright sunny day, so I used a series/parallel configuration to keep the max amperage well within safety limits. There are calculators you can find on line to help you make your decision.
My recollection is two 100 watt panels in series do not require a fuse. Three in series would. However, there is the advantage of being able to disconnect the panels from the controller. My understanding is if the panels are supplying power to the MPPT controller with no output (battery disconnected) you can damage the controller. The panels should be disconnected from the controller prior to disconnecting the battery.
You can buy the required connectors but I found it easier to use a combiner box and not deal with a faulty connector of my doing. Be sure to purchase the required tool needed to disassemble your current connectors.