2018 Sprinter 144" 4x4....take 2

ColtHenrie

New member
Grant, are you sticking to the stock head unit for your stereo system?

BTW, I stopped by and checked your first van out at Overland Expo West. Nice job!
 

grantwilson

FreedomVanGo
Grant, are you sticking to the stock head unit for your stereo system?

BTW, I stopped by and checked your first van out at Overland Expo West. Nice job!
i havent decided. comes down to budget. I bought a few things this time i didnt last time so i have to see in the end where it ends up.

I am going ahead and wiring for an aftermarket headunit (2 pairs of RCA for example) when i do the line converter so its easy to do it later.
 

grantwilson

FreedomVanGo
The weekend has been pretty busy and awesome. A ton of work got done and pretty happy with the progress.

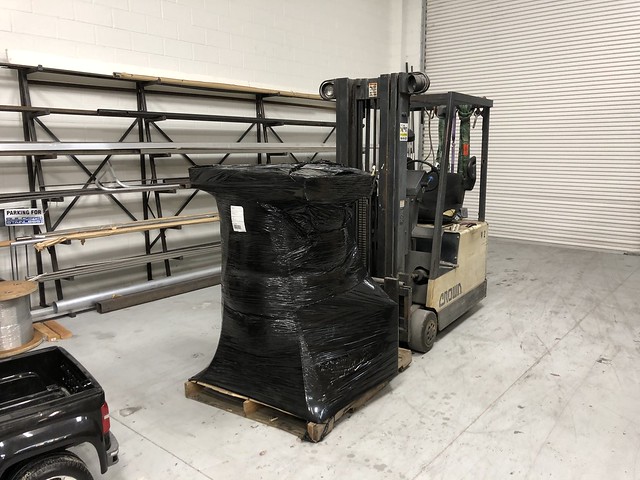
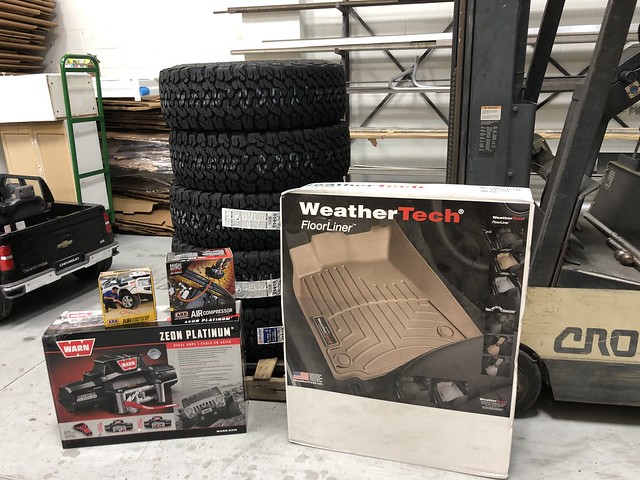
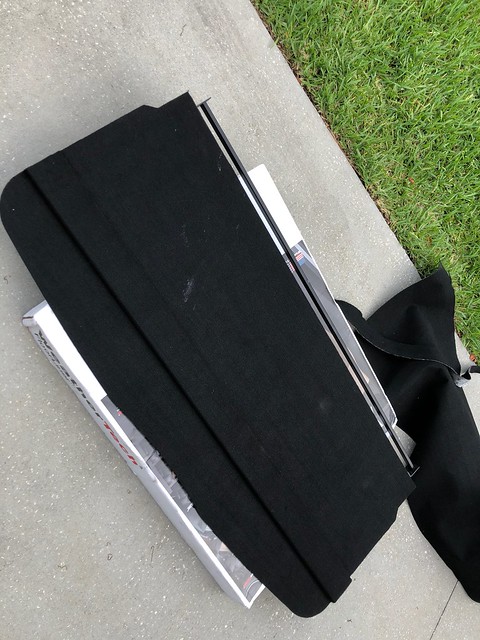
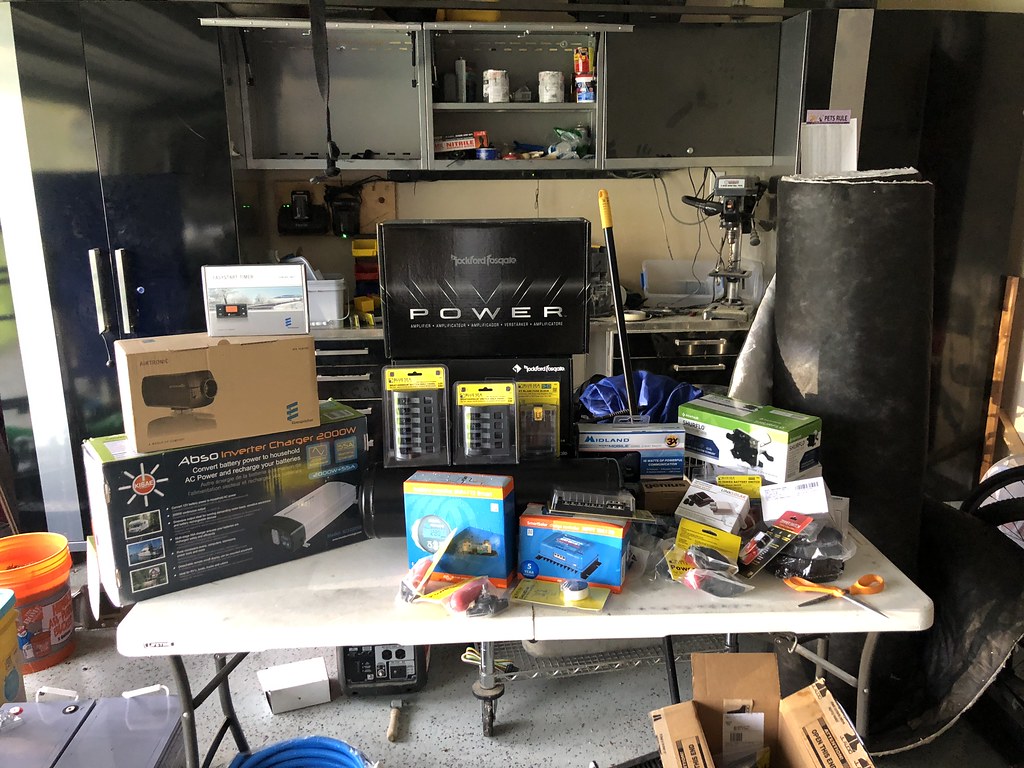
The stack of parts is getting a bit large, so let's start putting some in there to get it down!
Untitled by Grant Wilson, on Flickr

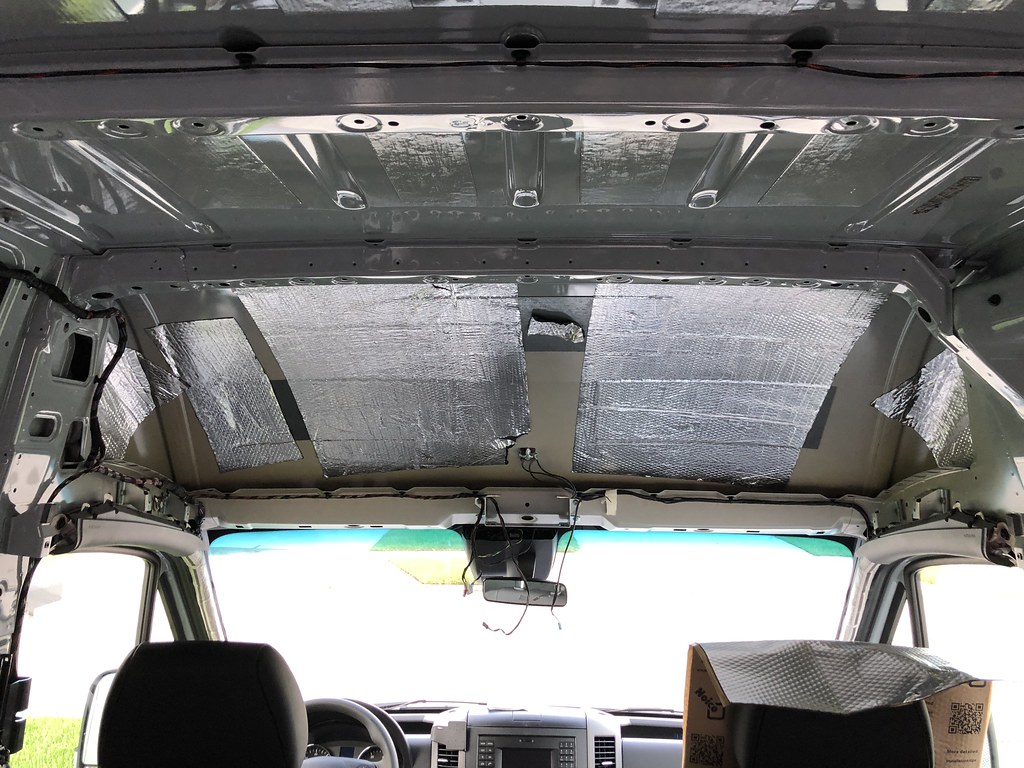
Friday after work, decided that i was going to strip all the pieces out of the front (a pillar and b pillar trim headliner etc) so i can start running wires for the PA and speakers.
Untitled by Grant Wilson, on Flickr
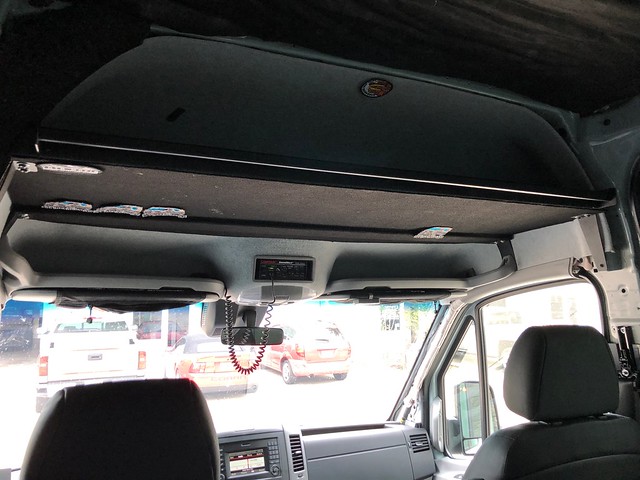
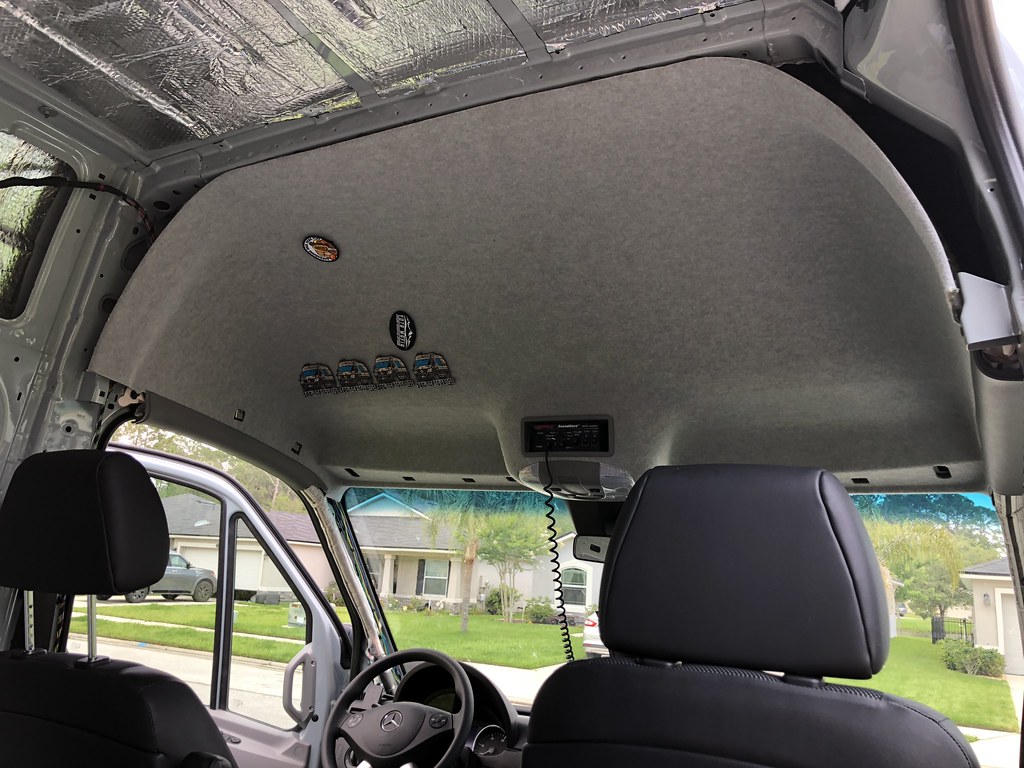
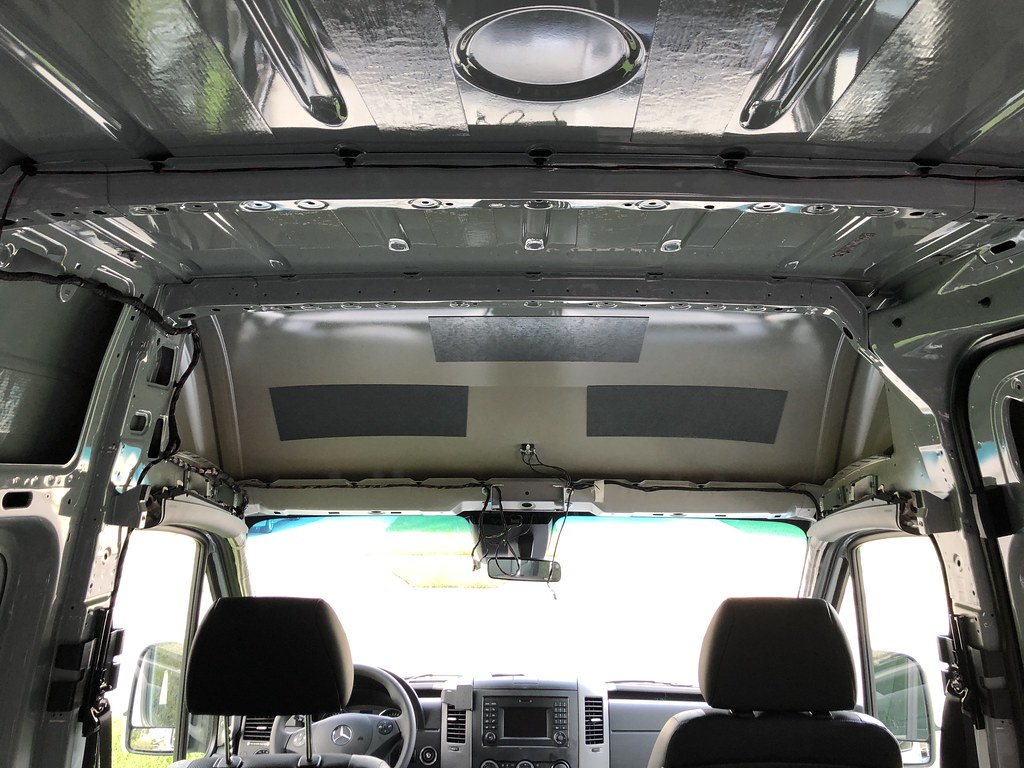
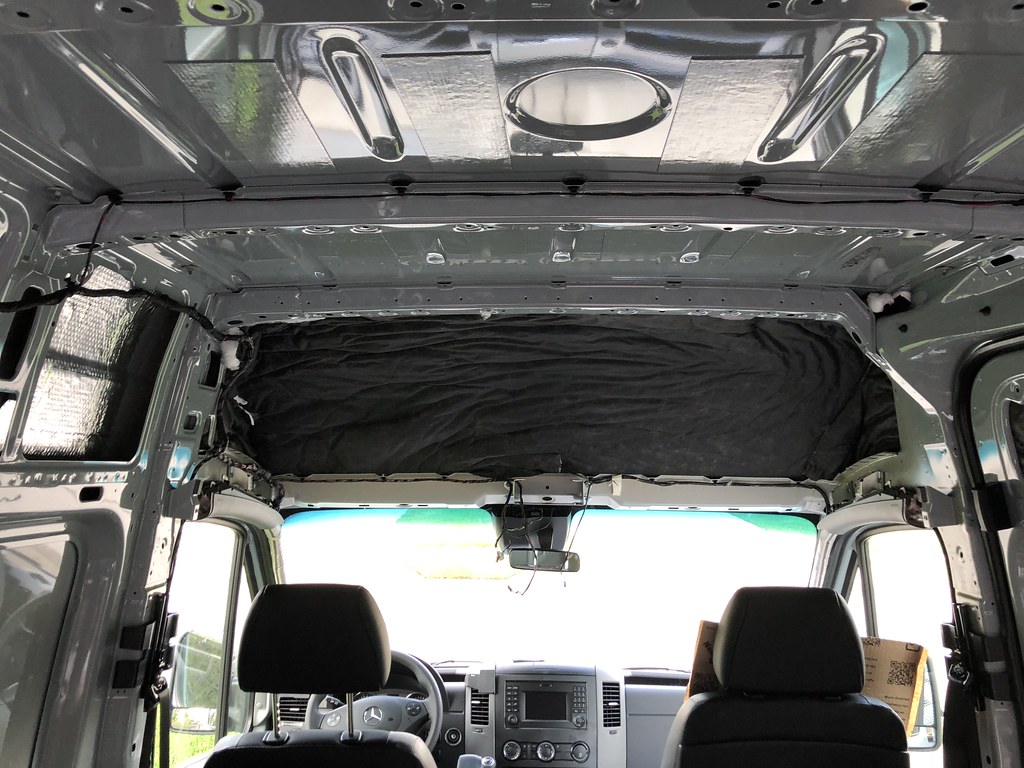
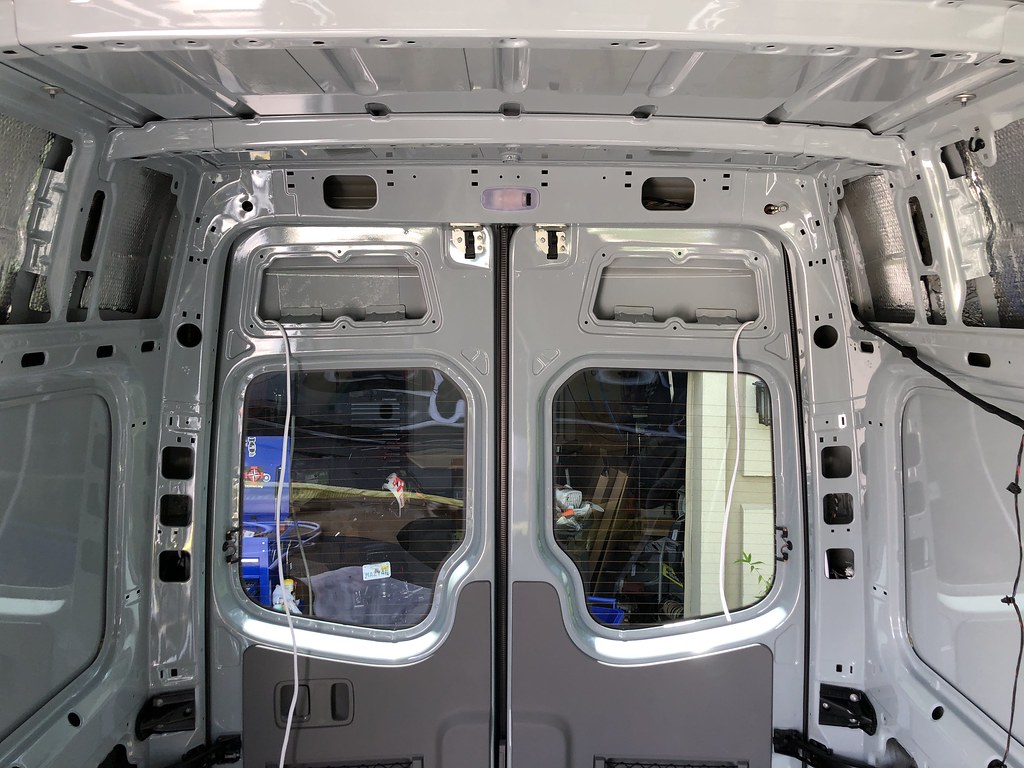
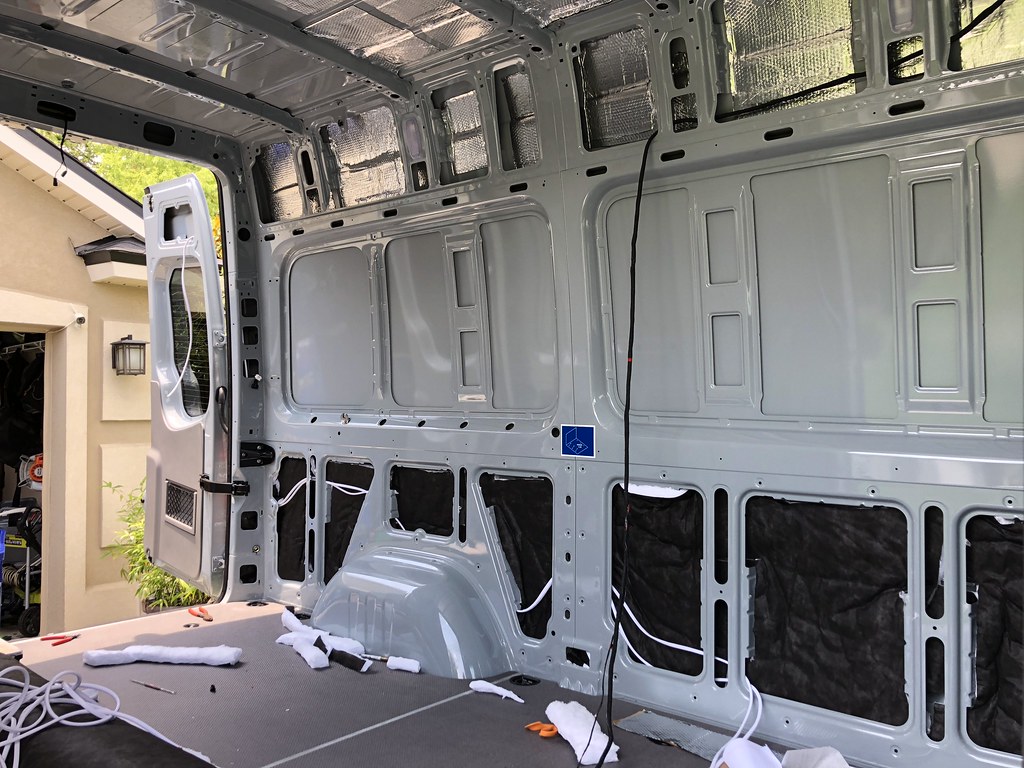
Then I applied the sound deadening, put a ton of Thinsulate up there, and moved on to some other areas
Untitled by Grant Wilson, on Flickr

After that was finished, I went to the rear doors. Pulled the lower panels off, applied sound deadening there and thinsulate, as well as pulling the wires for the rear door speakers
Untitled by Grant Wilson, on Flickr

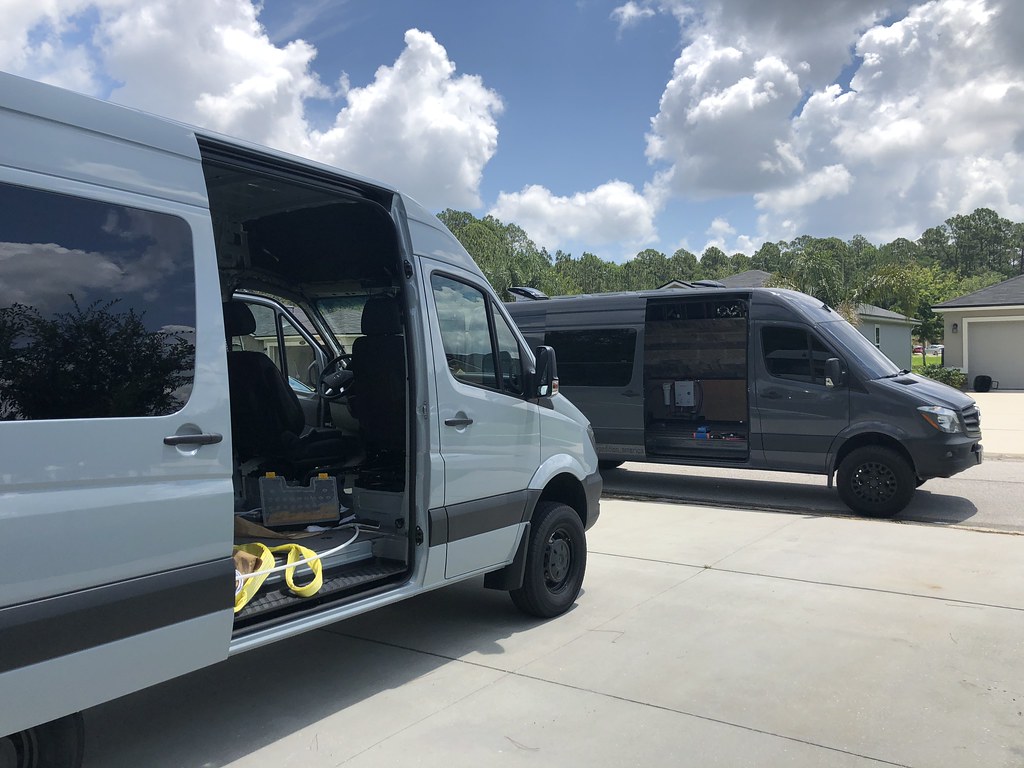
Saturday not much got done. My friend Justin came over
Untitled by Grant Wilson, on Flickr
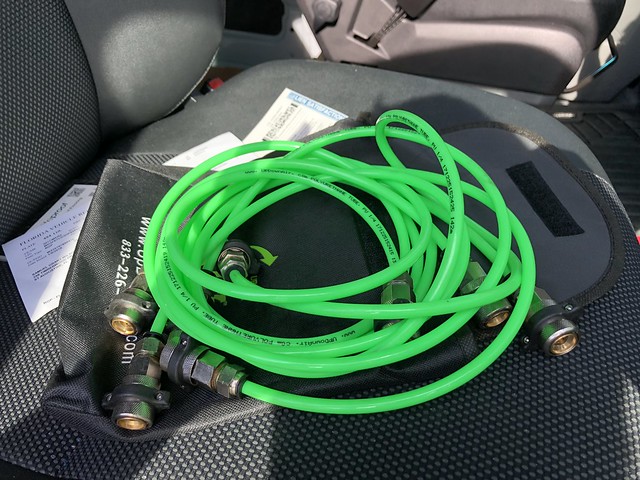
He need his electrical system installed, so i knocked it out for him in like an hour or so
Untitled by Grant Wilson, on Flickr
he still has to hide some cables and do some other crap, but he was headed on a trip this week and needed something functional, so i hooked it all up for him.

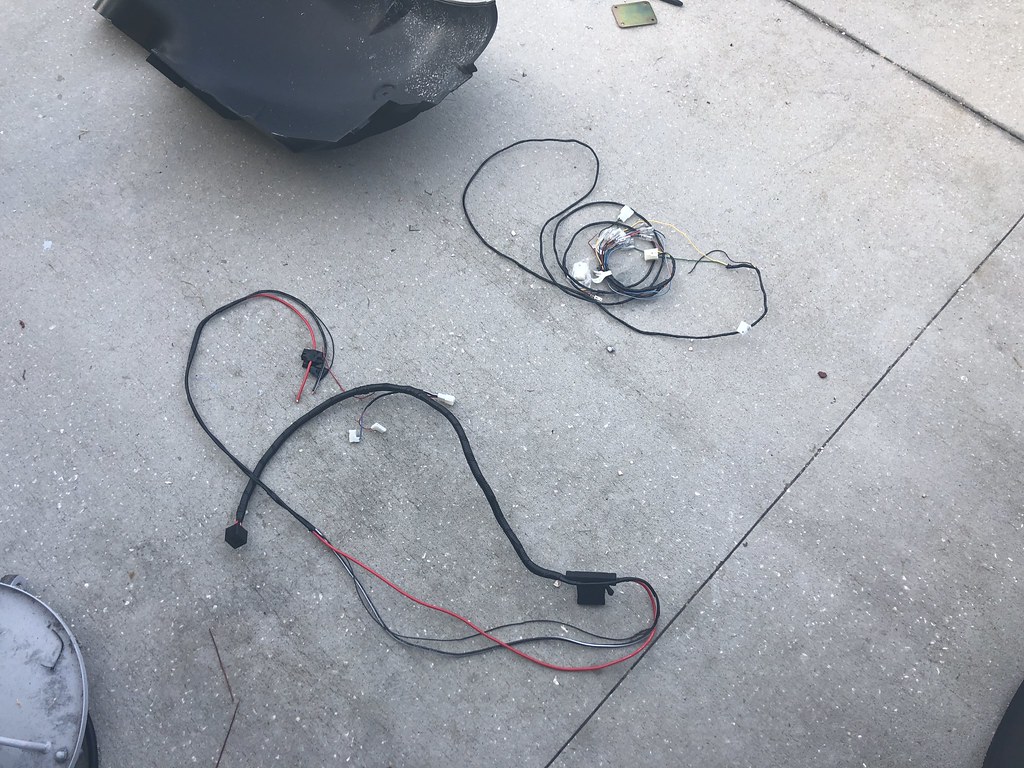
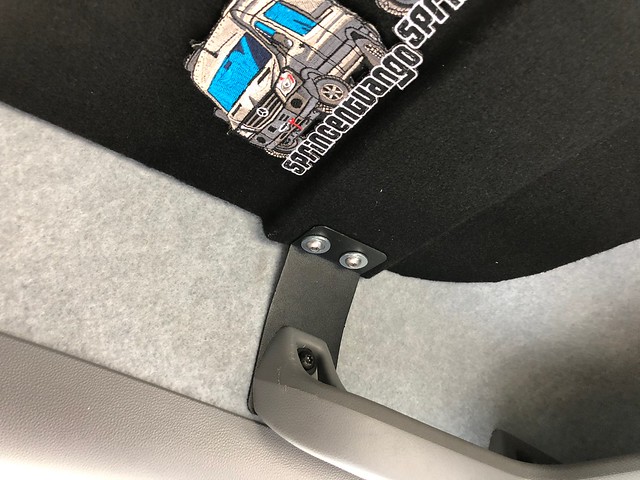
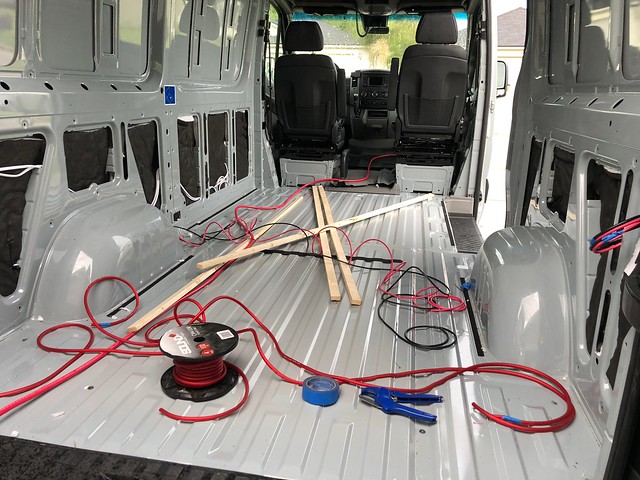
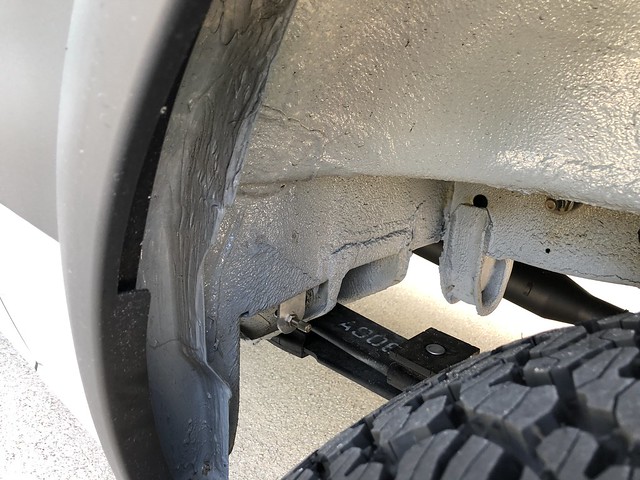
The one thing i did work on Saturday, was hiding the god awful wiring harness back there. I pulled the entire body harness from the headliner to the rear out of its home and removed all the clips.
Untitled by Grant Wilson, on Flickr
I actually pulled it all back out, and then rerouted it behind the side area as well then put it all back on sunday correctly.

Sunday was alot of wiring finishing up front and my friend Rob (the guy who bought my Subaru) helping out with sound deadening and insulation.
Untitled by Grant Wilson, on Flickr
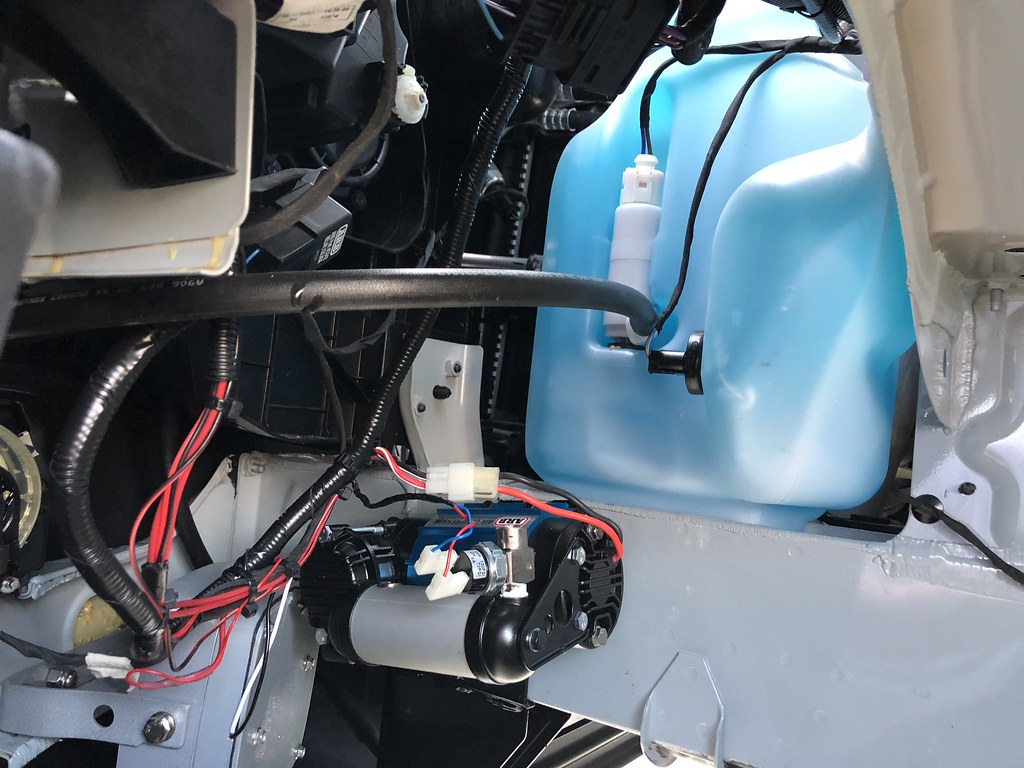
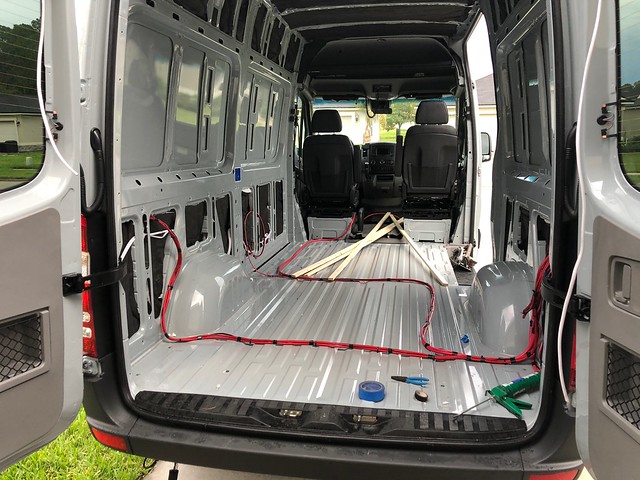
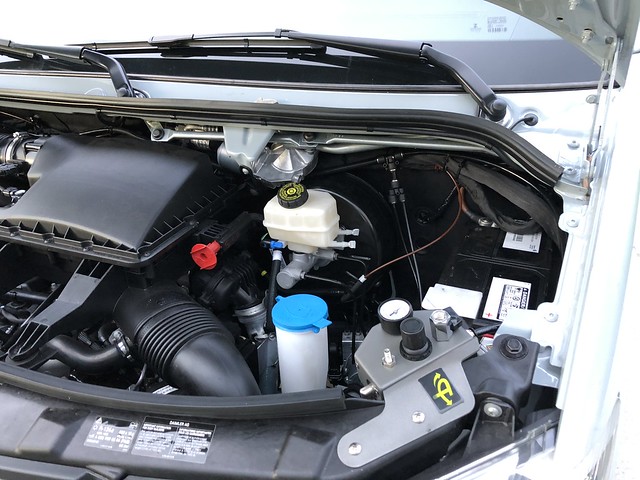
I finished some wiring on the PA, mounted the siren/speaker in the front, a single row lightbar and then ran the trigger wire for the relay for the ARB compressor that I will install on Monday hopefully. The balance of the evening was spent redoing the rear harness like i mentioned above to run behind all the body panels and not to be seen again.
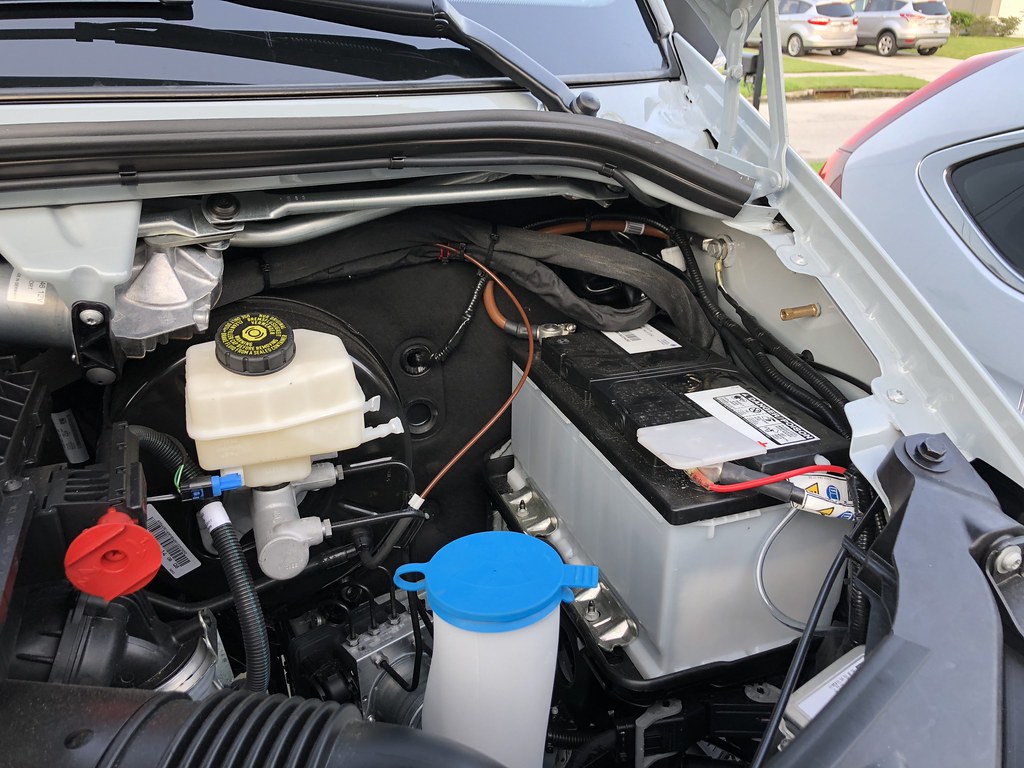
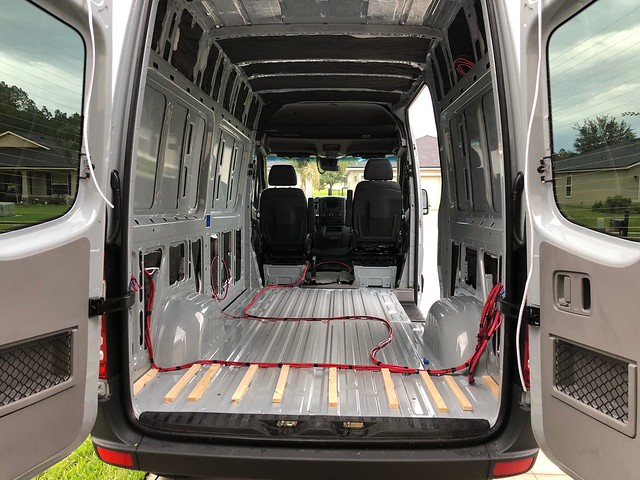
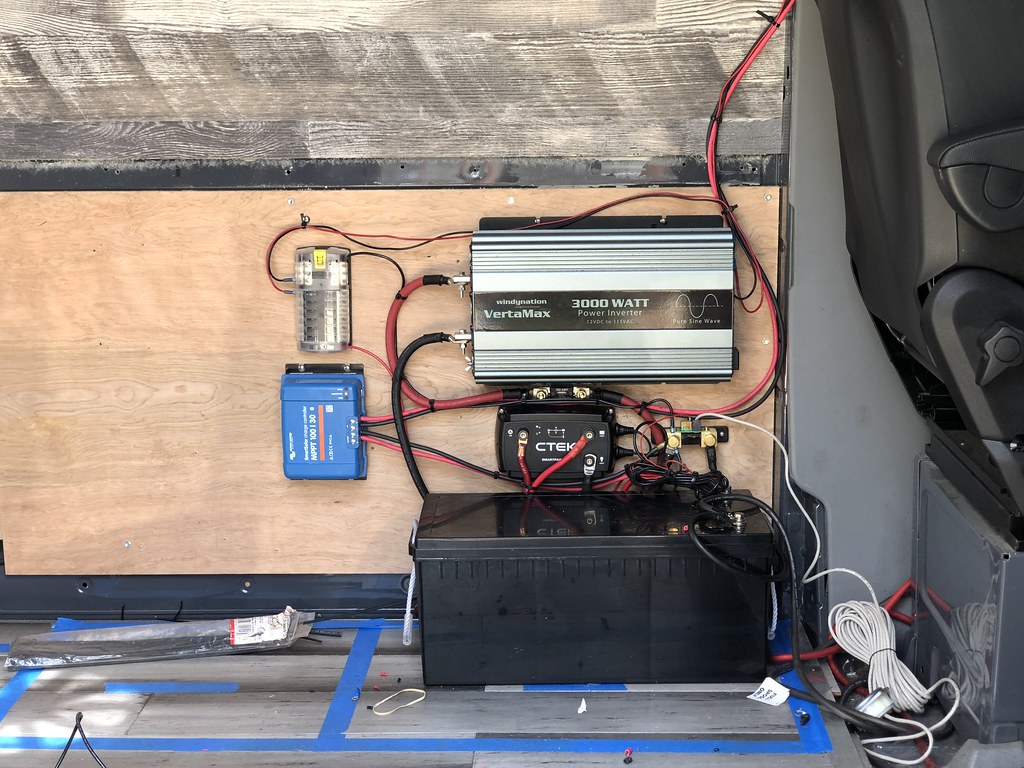
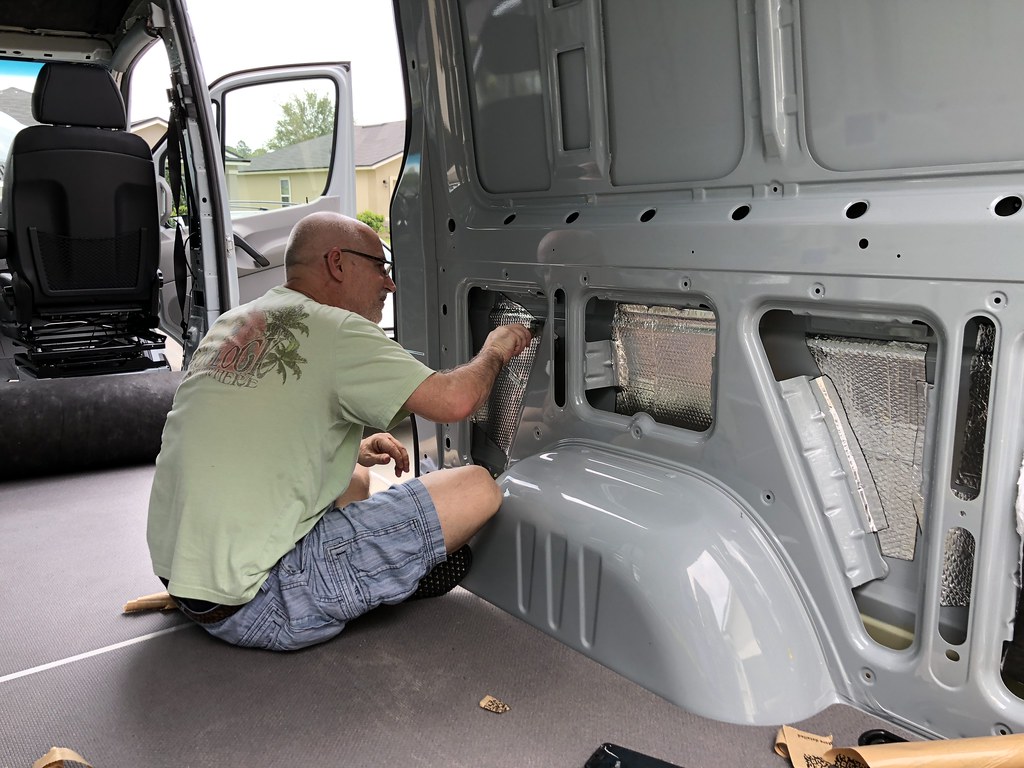
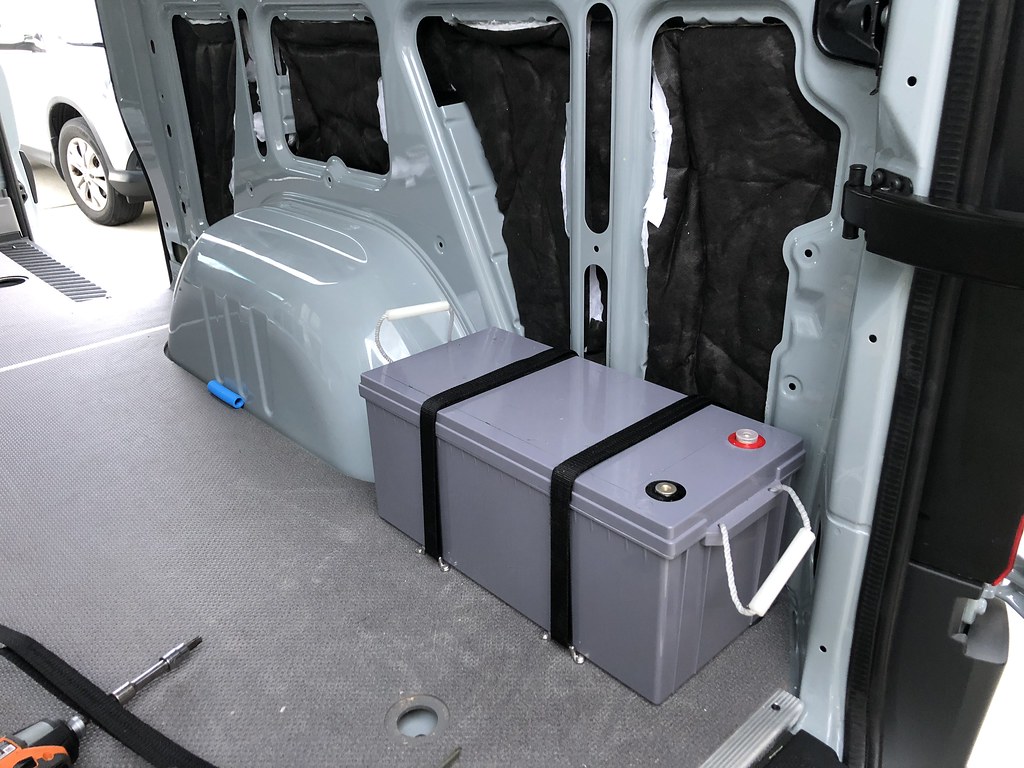
We got 3/4 of the sound deadning in the upper portion of hte van done. I ordered another box of sound deadedning to finish up what was needed, and am waiting on more thinsulate from Hein as well as some other parts so i can do the audio stuff. Also mounted up the rear batteries using some holddown loops and 1" webbing straps I sewed up with velcro closure stuff to keep it tied down. No batteries sliding around here!
Untitled by Grant Wilson, on Flickr


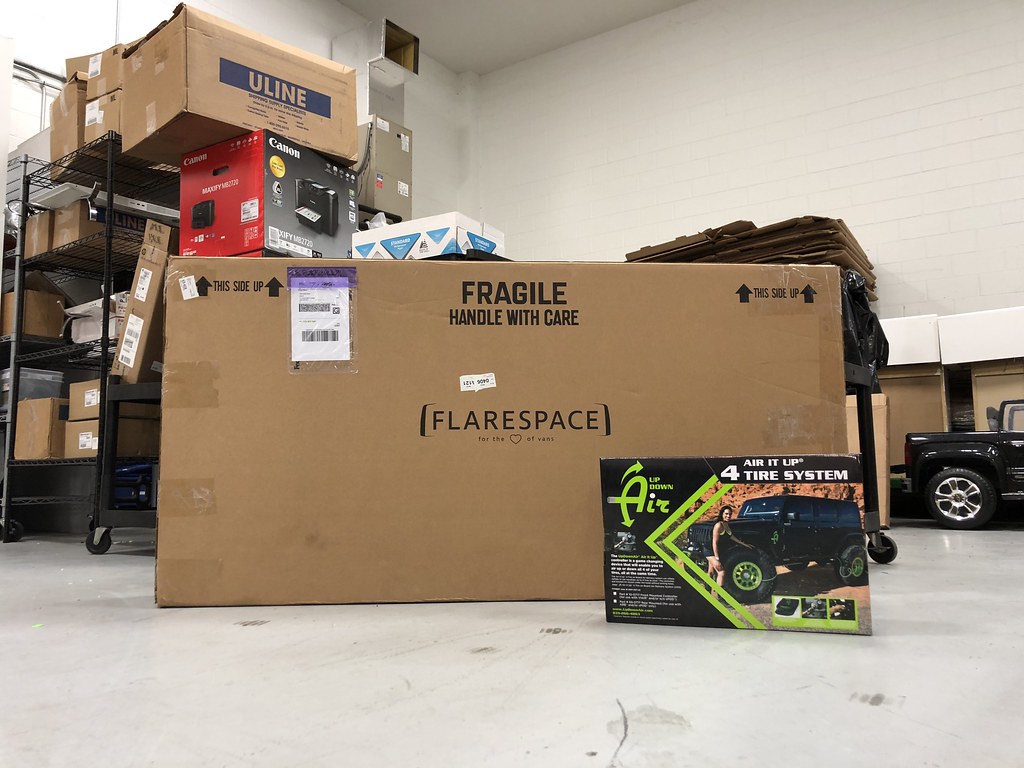
Next up is getting the flarespace flares dropped off for paint when they come in this week, Sorting a Tern Overland window, pulling the floor for insulation and running main power wire for hte Ctek Smartpass to the rear, making the rear passenger wall to mount all the electrics to, and sorting electrics out. Tons of fun!
 

grantwilson

FreedomVanGo
Did you have to drill behind/through the D-Pillar to re-route the driver side wiring harness?
You do. I used a 1 1/2" hole saw. You have to use this, a 1 1/4" wont allow the wire and the tail light harness plug to go through. The extra 1/4" is just enough to get everything through

You have to drill the center portion and the back portion. I hit it with some black paint to keep corrosion at bay, and also put in a rubber grommet to keep from any wire chafing issues.
 

canyoneer

2017 144 High Roof
You do. I used a 1 1/2" hole saw. You have to use this, a 1 1/4" wont allow the wire and the tail light harness plug to go through. The extra 1/4" is just enough to get everything through

You have to drill the center portion and the back portion. I hit it with some black paint to keep corrosion at bay, and also put in a rubber grommet to keep from any wire chafing issues.
Perfect, thanks for the details!
 

grantwilson

FreedomVanGo
Since the pallet came in, and i now have my compressor, took the afternoon to put it in.
Started with stripping down the harness to only what I need. Using the PA system aux switch to trigger the relay, so only needed that wire hooked up to something (other than the power and negative) So took out the extra solenoid subharness and switch harness, re loomed the whole thing then installed it.
Untitled by Grant Wilson, on Flickr
Lower is final harness (with full length of positive and negative i trimmed to length when installed)
Mounted the compressor on the lower frame rail up front to keep it closer to the UpDownAir module that will be installed later this week to air up and down all 4 tires at once.
Untitled by Grant Wilson, on Flickr
and final wiring up to the Aux Battery
Untitled by Grant Wilson, on Flickr
 

grantwilson

FreedomVanGo
Wait. You plan to air up all 4 tires at once with an ARB single compressor and this device? I'm fascinated to see how this goes.
certainly. It just takes about 15% longer. Ive owned both compressors. On 33" tires the single is more than capable
 

ColtHenrie

New member
I'm typically going to be driving my van between the elevations of 4500 ft and 9000 ft above sea level, so I am wondering if it would be worth me getting a twin air compressor over the single.
 

grantwilson

FreedomVanGo
I'm typically going to be driving my van between the elevations of 4500 ft and 9000 ft above sea level, so I am wondering if it would be worth me getting a twin air compressor over the single.
I would
I am typically at sea level and not in a hurry.
 

grantwilson

FreedomVanGo

grantwilson

FreedomVanGo
Got my Van Wife Components headliner in.
Covered the bottom with carpet (yes i prefer carpet to tweed and other materials)
Untitled by Grant Wilson, on Flickr
Swapped out the hardware for some stainless (Of course, since that's what I sell lol).
Untitled by Grant Wilson, on Flickr
Took some time to get it in and fit with some bracket tweaking, but I got er done
Untitled by Grant Wilson, on Flickr

Also mocked up the water tank profile that we will build from stainless
Untitled by Grant Wilson, on Flickr

And since the wiring came in, pulled the floor and started laying out wire!
0/1 from battery to rear for smartpass
4ga for battery connection (2 batteries)
8ga for fuse box crossover (one on each side for ease of adding in circuits later)
12ga for water pump
I will be adding romex today for 110 outlets as well
Untitled by Grant Wilson, on Flickr
Laid in some battons for the floor space for wires and insulation.
I think today will end up being air system day, since my air up and down system will be here, and mount the tank and hose and all that stuff for everything after work. Also test fit my flares that will get here today and them drop them off tomorrow for paint.

PROGRESS!
 

grantwilson

FreedomVanGo
A big issue for me while in arizona was having to air up and down like 3 or 4 times a day depending on where i was going. With the weight of the van and handling, I don't like to run low pressures on the street. I don't mind the TIME it takes to air up and down, but more the process. It sucks going from tire to tire and squatting forever and im lazy.

So, when I saw these guys at Expo West, I jumped on it. I'm a super hardware nerd, and the materials and choices they made on this product is outstanding. All stainless construction, it appears as brass on areas on the quick release chucks (which are a work of art in their own) and just general awesomeness.

The things of note on this system.
If you have an air tank, you have to plumb it PRIOR to the air management unit. Same for horns or air chucks. I will be using a 3/8 to 1/4" tee and running the hose back to the tank from the front and teeing the air horn off of that line.
They dont really have a universal setup. I bought the JK version, and just bend the mount flange to the angle i needed to clear the hood using a vice and a really damn big adjustable with tape on all surfaces then screwed it into the super thick core support plastic. Good enough for the girls I hang out with.
It includes the fitting for the compressor you need and a good amount of hose. I required some more 1/4" and 3/8" line due to the size difference between the JK/JL and sprinter, but that is cheap and i had the 1/4 on hand anyways.
You will need to make brackets for the air valves at the tires. I used 1 x 2 x 1/8 angle and trimmed to size and appearance. some 5/16 holes and off to the races.
Whole process took about an hour and a half, so not all that bad, for just the unit and hoses and brackets and stuff.
Unit costs about 260 bucks without compressor and jazz.
That being said. Here is the required pics!
Untitled by Grant Wilson, on Flickr
 

Top Bottom